

Winter-hardy flower pots on the terrace
By the GardenWorld editorial team, updated on
Want to see this in your garden?
Full design in HD: €7.99
Yes, your terrace can stay colourful all year: pick frost-hardy species, get the drainage right, and your pots will shrug off minus 15 degrees without any fuss. Most damage is not caused by the cold itself but by water that sits at the bottom of the pot and freezes, swelling until the root ball cracks.
This guide shows you exactly how to plant your terrace pots now in October so they sail through winter: which pot material survives, which plants are genuinely hardy, how to layer bulbs underneath for spring colour, and how much watering you still need in January.
Drainage: the foundation against frost damage
Pots rarely fail because of the cold itself, but because water collects at the bottom and freezes, expanding until it cracks the root ball. Make sure your pot has at least two drainage holes of 2 centimetres. Many terracotta pots lack them: drill the holes yourself with a masonry bit, and work carefully, since stone is brittle.
Line the bottom with 3 to 5 centimetres of broken pot shards, roof tile pieces or coarse lava stone. This lets water through without soil washing into the gap. Skip plastic drainage balls: they trap moisture instead of releasing it. On top goes 2 centimetres of coarse sand, then the potting mix. Choose a light, free-draining mix with perlite, never heavy garden earth, which compacts in the rain and suffocates the roots.
Which pot material survives winter
Not every material handles a Belgian or Dutch winter equally well. Plastic wins clearly: it flexes slightly under frost instead of cracking, and conducts little heat, so roots freeze more slowly. The downside: colour fades after a few years in the sun, especially black.
Concrete holds up just as well and drains a little on its own, but it is heavy and awkward to move. Terracotta looks the best but is also the most fragile: the wall soaks up water, which freezes, and the pot splits. Only very thick-walled southern European terracotta, at least 3 centimetres thick, reliably survives outdoors; thin pots from the garden centre are too risky. Avoid slate and thin ceramic too: hard, but brittle in frost.
Which plants are genuinely winter-hardy
A plant in a pot freezes faster than the same species in open ground, so pick species with real reserve, not borderline ones.
Skimmia japonica survives down to about minus 15 degrees, stays compact and carries red berries all winter; plant a female for berries and a male nearby for scent. Winter heath (Erica carnea) tolerates about minus 20 degrees and flowers white, pink or red from February to March; combine three colours in one pot for more impact. Ornamental grasses such as Miscanthus sinensis, Calamagrostis x acutiflora and Festuca glauca stay attractive down to minus 15 degrees, as long as you leave them uncut now: wait until March, or you lose their winter structure.
Box (Buxus sempervirens, to minus 20 degrees) and ivy (Hedera helix, to minus 25 degrees) are the toughest survivors. Helleborus, Galanthus (snowdrop) and Carex (sedge) actually flower in the coldest months. Skip tender plants such as begonia, fuchsia and coleus outdoors: they die already at minus 5 degrees.
Layering bulbs under your winter-hardy plants
There is still room beneath your hardy plants for flower bulbs, and that combination gives your pot a second show in March. Plant the bulbs now in October or early November, before the first hard frost, in a layer 10 to 15 centimetres below the final soil surface, under the root ball of the skimmia or heath.
Choose crocus and early narcissus for the top layer, tulip or allium a little deeper, so they flower one after another instead of all at once. Count on 8 to 10 bulbs for a pot of 40 centimetres across. The existing roots will not disturb the bulbs; they simply grow alongside them. Not sure which bulb combination suits your skimmia or heath? On gardenworld.app you see it first in a preview of your own garden.
Free preview
Create your own garden design
Watering in winter: less is more
Little water evaporates in winter, but wind and low sun still dry out the top few centimetres. Feel the soil mix 3 centimetres down: dry? Water. Still moist? Wait another week.
Then water thoroughly in one go, until it runs from the drainage hole, rather than a small splash every day: frequent light watering keeps the surface dry while the base stays wet, exactly where root rot starts. Use rainwater or water at room temperature; water straight from an outdoor tap is often too cold for the roots. Water in the morning so any excess can drain away before nightfall. Once frost sets in, stop watering altogether: frozen earth cannot absorb water, and you only add to the risk for the root ball.
Protection against frost and wind
Below about minus 4 degrees, roots in a pot start to freeze, and wind speeds that up by cooling the earth further. Place your pots against the house wall: a wall radiates warmth at night, and that microclimate is quickly 2 to 3 degrees warmer than the open terrace.
During a hard frost, wrap a white frost fleece of about 50 grams per square metre loosely around the pot and tie it with string; remove it again once temperatures rise above zero. Group pots together too: a cluster of three to five insulates better than one pot standing alone in the wind. Finally, choose a spot in the winter sun: a north-facing position carries much more risk of frost damage.
Step by step
Step 1: Check the pot and drainage
Choose a plastic or concrete pot at least 30 centimetres deep with drainage holes. No holes? Drill two of 2 centimetres with a masonry bit. Without drainage, the roots drown long before any frost arrives.
Step 2: Build the drainage layer
Lay 3 to 5 centimetres of pot shards or lava stone at the bottom, topped with 2 centimetres of coarse sand. This keeps the holes clear and stops the potting mix from clogging the layer after a few rounds of rain.
Step 3: Bulbs in the first layer of soil
Fill the pot a third full with potting mix and place the bulbs 10 to 15 centimetres below the final rim, pointed end up. Then top up with more mix to about 20 centimetres deep.
Step 4: Add the winter-hardy plants
Set the skimmia centrally, three winter heaths around it and a trailing ivy at the front, or choose three plants of the same species for a calmer look. Leave 5 centimetres of space below the rim for watering.
Step 5: Firm down and water
Press the mix gently around the root balls so the plants sit firmly. Water carefully until it runs from the drainage hole; the mix should feel moist, not soggy, which is exactly the point where roots start to rot.
Step 6: Finish with mulch
Lay 2 centimetres of bark or coconut fibre as mulch around the plants. This insulates against frost and holds moisture, as long as you keep the layer thin enough to avoid trapping water against the stems.
Frequently asked questions
Should I wrap my pots in bubble wrap?
No, that is actually risky. Bubble wrap traps both warmth and moisture, which encourages mould around the roots. An open pot with good drainage protects far better than any insulating wrap. Group pots together or move them against a wall instead of sealing them up.
My pot freezes solid every winter. What am I doing wrong?
Check the drainage first: are the holes blocked, or has the potting mix turned claggy over time? Empty the pot and refill with fresh mix plus perlite. If it is still thin terracotta, move the plants into a plastic or concrete pot instead.
Can I still plant terrace pots in October, or is that too late?
October is fine, even ideal: roots keep growing until December and settle into their new pot before the hardest frost arrives. Wait until January and there is no growing time left, so the plant recovers more slowly.
What do I do with the same pots in March?
Cut the ornamental grasses back to about 10 centimetres and remove spent heath twigs. You can simply leave the skimmia and heath in place; they flower again next winter. For variety, swap in summer bloomers such as petunia or sage once the risk of night frost has passed.
See it in your own garden first
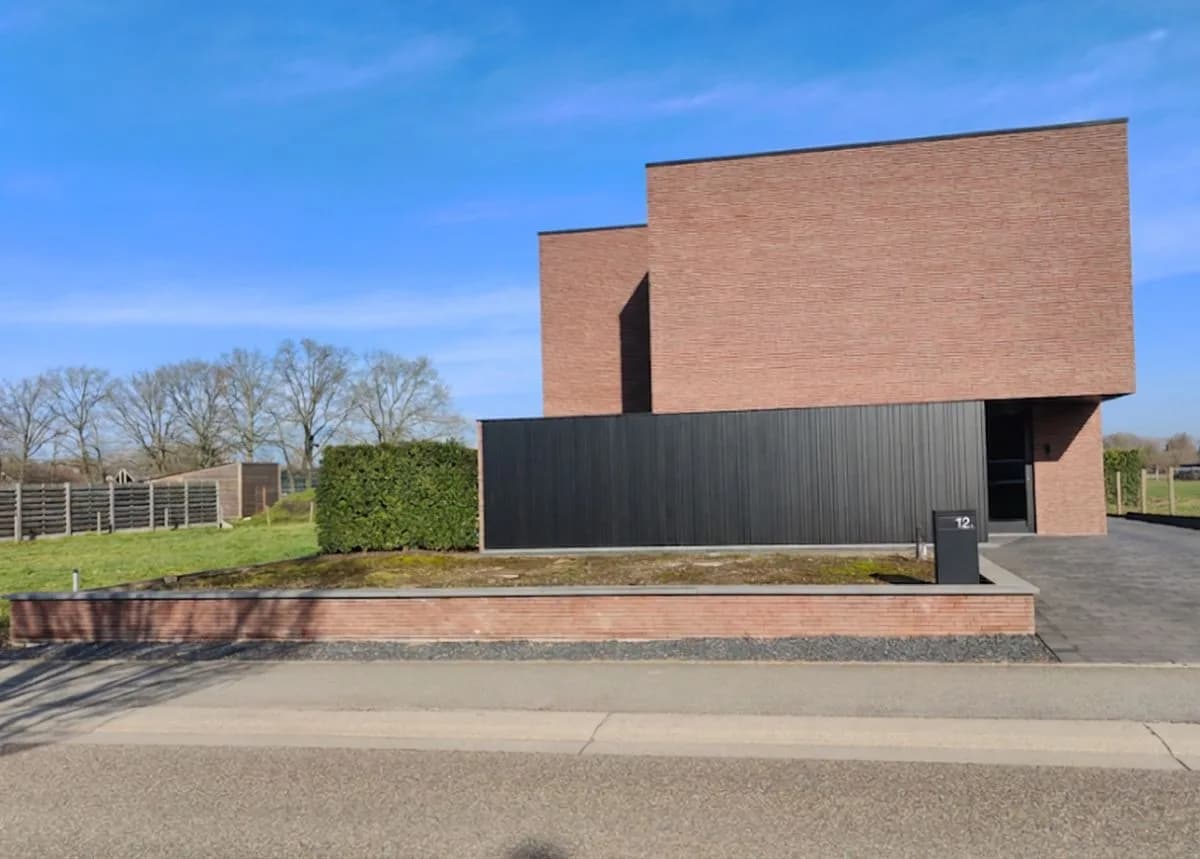
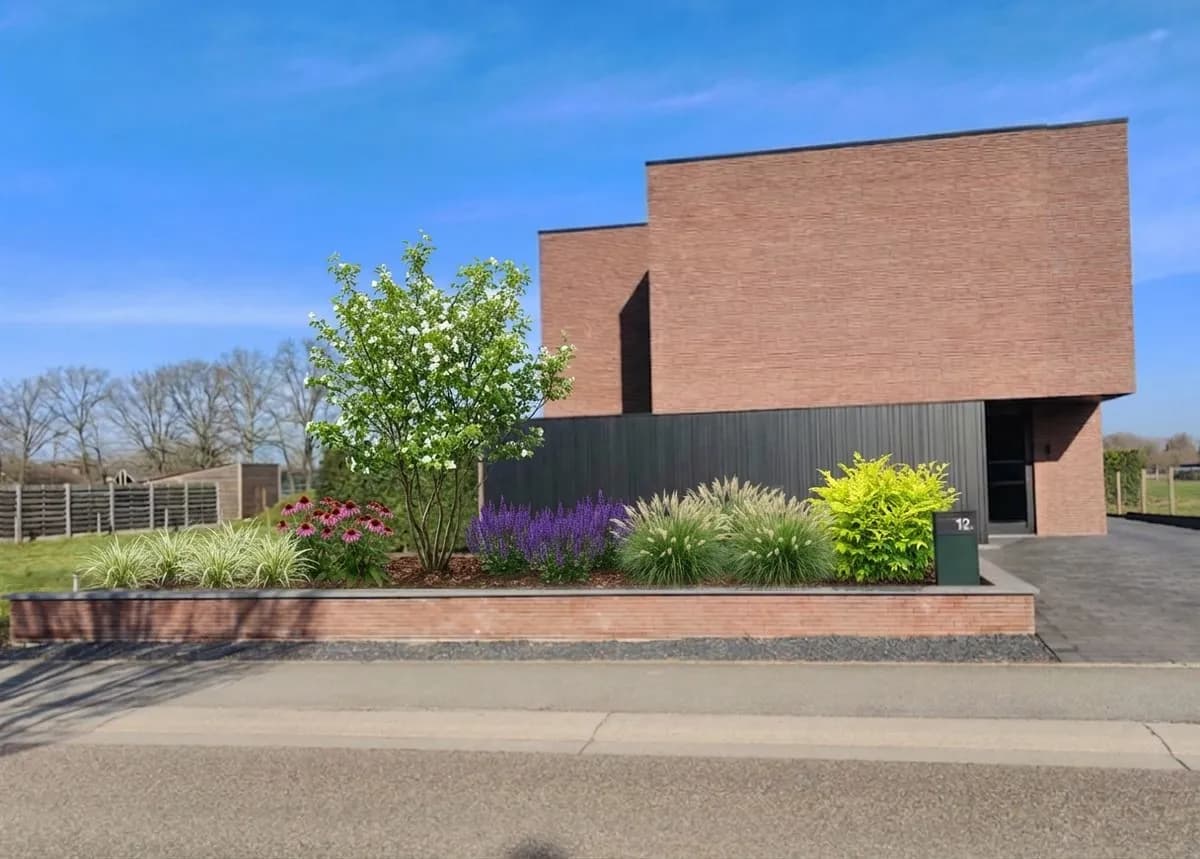
Wondering whether winter-hardy pots suit the style of your terrace? On gardenworld.app upload a photo of your terrace or house front and see a free preview of a new design with these plants. The sharp image with full plant list costs 7.99 euros, once, no subscription.
Create your own garden design
Upload a photo, pick a style, and get a photorealistic design with plant list in under a minute.
Full design in HD: €7.99
Related articles
 Planting
Layering bulbs in pots: the lasagne method
More blooms from one small pot? Layer bulbs like lasagne. Which varieties, in what order, at which depth.
 Planting
Dividing perennial plants in autumn: rejuvenate your borders
Autumn is the best time to divide perennials. Learn which plants you can divide, the exact technique, and why dividing beats buying new plants every time.
 Seasonal Tips
Bringing potted plants indoors: when and how
Your potted plants cannot survive frost. Find out exactly when to bring them indoors, how to check for pests first, and how to care for them until spring.