

Green roof on a shed or bike shelter: how to build it
By the GardenWorld editorial team, updated on
Want to see this in your garden?
Full design in HD: €7.99
A green roof on a shed or bike shelter adds insulation, soaks up a good share of the rainwater, and turns a flat roof green instead of bare bitumen or corrugated sheeting. With succulents such as sedum (Sedum spec.) you can install it in a weekend, without altering the roof itself.
What you need depends on how much weight your roof can carry and how much maintenance you want to do yourself. This article walks you through building a green roof, what the build-up costs, and which sedum species hold up best.
Load-bearing capacity: check this first
Before adding a green roof to a shed or bike shelter, check how much extra weight the structure can carry. A sedum roof with 8 to 12 centimetres of growing medium weighs roughly 100 to 170 kilograms per square metre once saturated. For a shed of 3 by 4 metres (12 square metres), that adds up to 1,200 to 2,040 kilograms of extra load on the roof structure.
Most modern garden sheds and bike shelters, with rafters of at least 7 by 7 centimetres spaced 60 centimetres apart, carry this without trouble. On an older or lightweight structure, with thin roof panels or a span wider than 4 metres, have a contractor or structural engineer check the load capacity first. That survey costs roughly 100 to 200 euros and prevents cracking or sagging later. Also check the condition of the timber: damp patches, soft spots, or sagging beams are signs to repair before you build on top.
The layers: from roof deck to plants
A green roof is built up in layers, from the existing roof surface to the plants on top.
First check the existing roof covering (bitumen, EPDM, or corrugated sheeting) for leaks, since it stays in place. On top of that goes a root barrier membrane at least 0.5 millimetres thick: without it, sedum roots work their way through bitumen within a few years. Next comes a drainage layer of 2 to 3 centimetres, made of plastic drainage boards or coarse lava granulate, that carries off rainwater so the growing medium never waterlogs. A filter fleece holds the growing medium in place while letting water pass through to the drainage layer. On top sits the growing medium itself: a light, low-nutrient mix of lava, pumice, and a little compost, 8 to 12 centimetres deep. Skip ordinary garden soil, since sedum actually grows better in poor, free-draining ground.
Choosing sedum: which species where
Sedum (stonecrop) is the standard choice for green roofs, since it needs little water and tolerates frost, heat, and wind.
Combine several species for colour through the year. Biting stonecrop (Sedum acre) flowers yellow from May and spreads quickly across the roof. White stonecrop (Sedum album) carries small white flowers in summer and turns reddish at the leaf edges in autumn. Caucasian stonecrop (Sedum spurium) has purplish green foliage and pink flowers in July and August. Stone orpine (Sedum rupestre) has narrow, needle-like blue-green leaves. For texture, plant some houseleek (Sempervivum tectorum) between the sedum: not a true sedum, but just as frost hardy and decorative thanks to its rosette shape. Plant each species in patches of at least 50 by 50 centimetres rather than mixing everything together, which gives a calmer overall look.
Doing it yourself or hiring a contractor
A contractor installs a complete sedum roof for roughly 60 to 100 euros per square metre, including materials and labour. For the 12-square-metre shed, that comes to 720 to 1,200 euros.
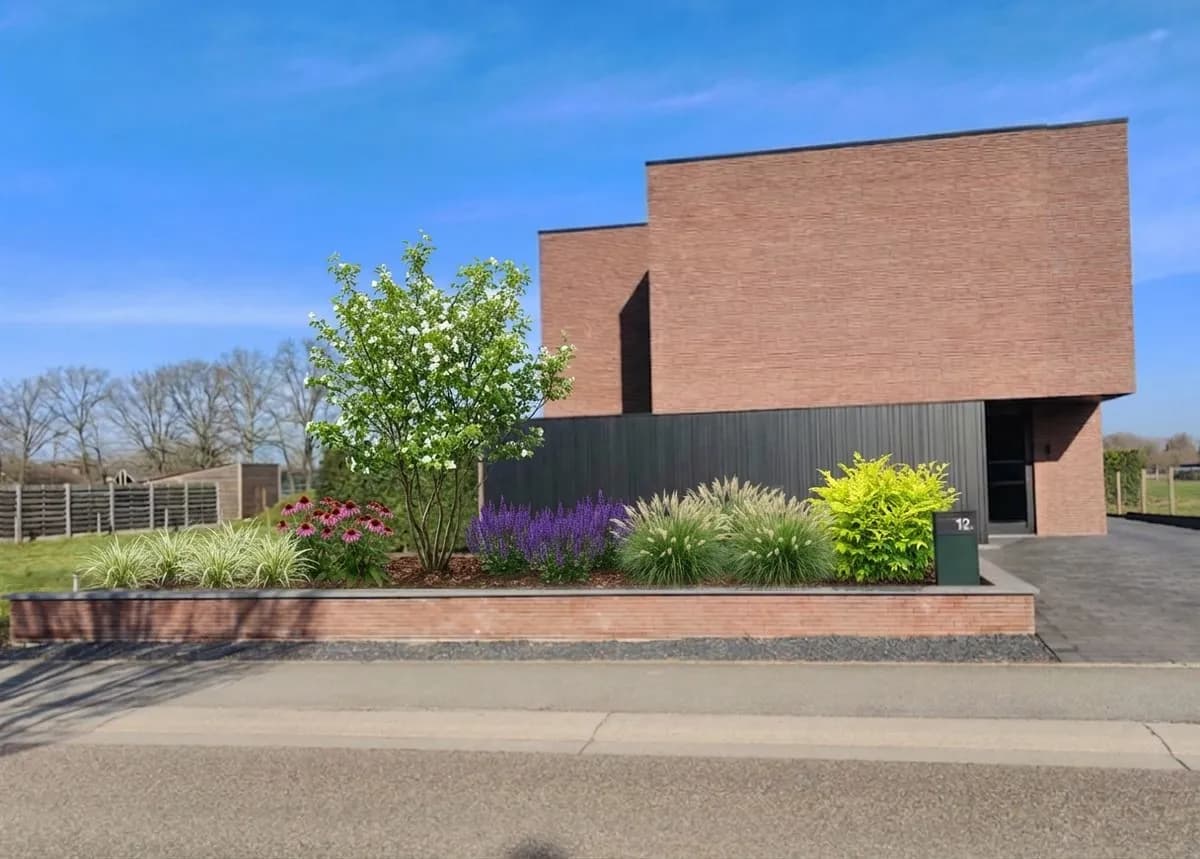
If you install it yourself with nursery-grown sedum, not loose cuttings from a garden centre bargain bin that are often dried out, and materials you order separately, expect to pay roughly 25 to 40 euros per square metre, so 300 to 480 euros for that same shed. Plan on carrying bags of growing medium and water weighing 20 to 25 kilograms up a ladder, and make sure you can work safely from a sturdy platform. Not sure whether a green roof suits your own shed? On gardenworld.app you can see an example using a photo of your own garden before you start building.
Free preview
Create your own garden design
Applying for a subsidy
Many municipalities in Flanders and the Netherlands offer a grant for green roofs, often as part of rainwater or heat policy. Conditions and amounts vary a lot by municipality: some pay a fixed amount per square metre, others reimburse a percentage of the invoice up to a maximum. Check with your own municipality for the current scheme before you start, since a grant usually has to be requested before the work begins, not afterwards. Keep every invoice and photograph each stage of the build: many municipalities ask for this as proof with the application.
Maintenance through the year
A sedum roof needs little, but not zero, maintenance. In spring (March, April) walk the roof: remove blown-in leaves and check for bare patches. Fill any gaps with extra growing medium and fresh cuttings.
During a dry summer, water occasionally, especially in the first two years after planting while the roots are still establishing. An established sedum roof survives several dry weeks without damage, though the foliage turns duller and more reddish in the process. In autumn, leave fallen leaves where they land: they break down into extra nutrients. Do check the gutters and drainage strips though, since blocked drainage causes puddles that waterlog the growing medium.
If something goes wrong
Large bare patches that never recover usually mean the growing medium is too thick or too wet, without proper drainage underneath. If weeds or moss appear between the sedum, pull them by hand: chemical weed killers such as glyphosate are banned for private use in Belgium and the Netherlands, and have no place on a roof that drains straight into your garden or the sewer anyway. If the roof leaks after a few years, the problem is usually a damaged or poorly overlapped root barrier membrane: repair that section locally, after moving the growing medium aside temporarily.
Step by step
Step 1: Clean and inspect the roof
Remove moss, leaves, and debris from the existing roof. Check for leaks by looking underneath the roof on a rainy day. Fix any defect first, since it becomes much harder to reach once the layers are on top.
Step 2: Lay the root barrier and drainage
Roll out the root barrier membrane with at least 10 centimetres of overlap at every seam and fix it with the proper clamping strips, never with nails. Lay the drainage layer and filter fleece on top, pulled taut without creases.
Step 3: Add the growing medium
Spread the growing medium evenly to a depth of 8 to 12 centimetres. Walk on it as little as possible to avoid compacting it, and use a board to spread your weight if you do.
Step 4: Plant the sedum
Plant sedum cuttings or small pots 10 to 15 centimetres apart, just below the surface. Shallow planting works better than deep: the roots spread out on their own.
Step 5: Water and follow up
Water weekly for the first four weeks, even if it rains, until the roots have taken hold. After six weeks, check that every patch has established and fill in any bare spots.
Frequently asked questions
Can a green roof leak once it is in place?
Not if the root barrier membrane stays intact and the seams overlap properly. Check the junctions around chimneys, roof edges, and pipe penetrations extra carefully, since that is where leaks most often start.
Does a green roof look dead in winter?
Sedum does turn reddish brown in winter instead of green, but it is not dying. From April the green returns quickly. If you want colour all year, combine sedum with an evergreen variety such as Sedum rupestre.
Does a green roof attract unwanted insects?
A sedum roof mainly attracts wild bees and butterflies while it flowers, in June and July. That benefits biodiversity in your garden and does not cause the kind of nuisance that wasps sometimes do.
Can I install a green roof myself without building experience?
Yes, it is not specialised work: you roll out membranes, spread growing medium, and plant cuttings. The heaviest task is carrying the materials up. Work with a second person for safety on the ladder.
See it in your own garden first
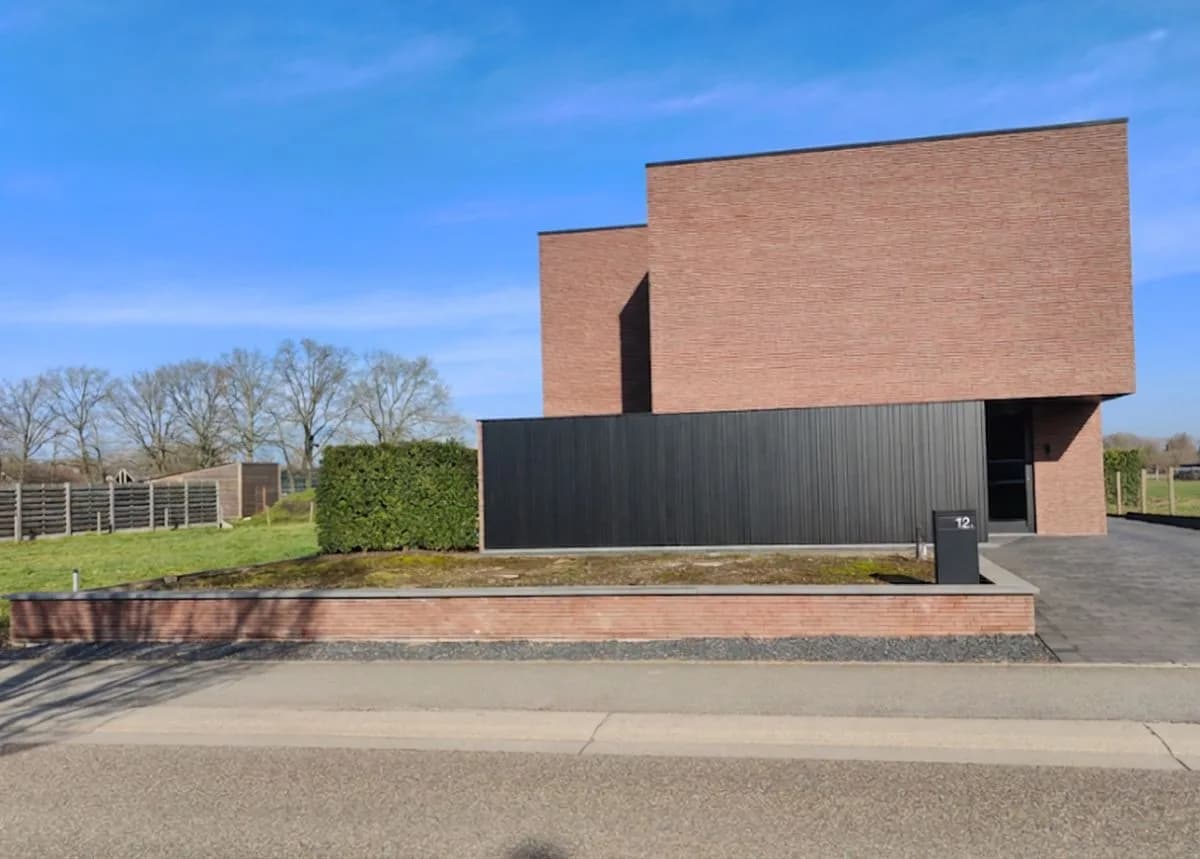
Want to see what a green roof looks like on your shed or bike shelter before you start? Upload a photo of your garden at gardenworld.app and view a free example of the new design with these plants. The sharp image with a matching plant list costs 7.99 euros, one time, no subscription.
Create your own garden design
Upload a photo, pick a style, and get a photorealistic design with plant list in under a minute.
Full design in HD: €7.99
Related articles
Garden ConstructionCreating a roof garden: weight, drainage, and wind-tolerant plants
A roof garden carries heavy loads. Learn the calculations for safe design, proper drainage, and plants that withstand wind.
 Garden Construction
Garden drainage: how to prevent waterlogging
Prevent waterlogging with proper garden drainage. Guide to drainage pipes, soakaways, French drains and when you really need them.
 Garden Construction
Low-maintenance gravel garden design: complete guide
Learn how to create a low-maintenance gravel garden. Less work, more enjoyment. Practical guide with plant choices.