

Planning garden borders: height layers, color schemes, and seasons
By the GardenWorld editorial team, updated on
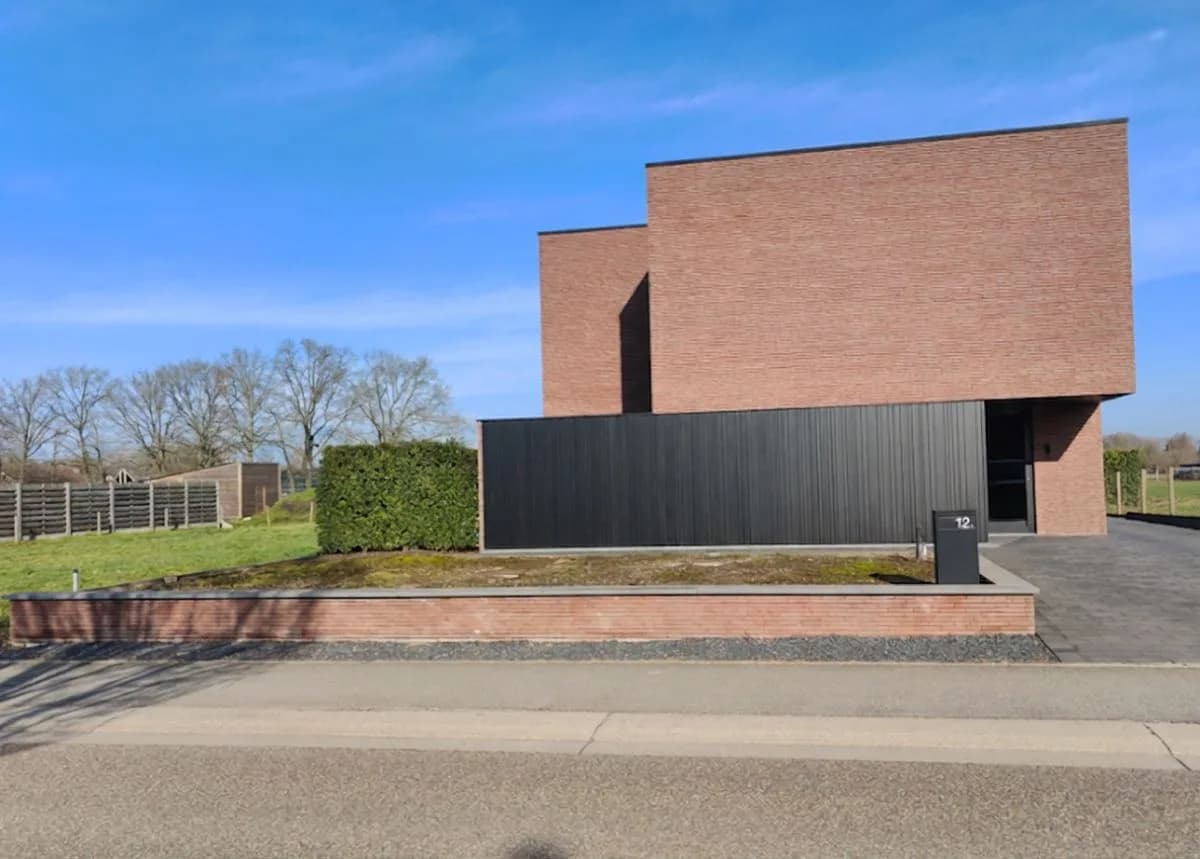
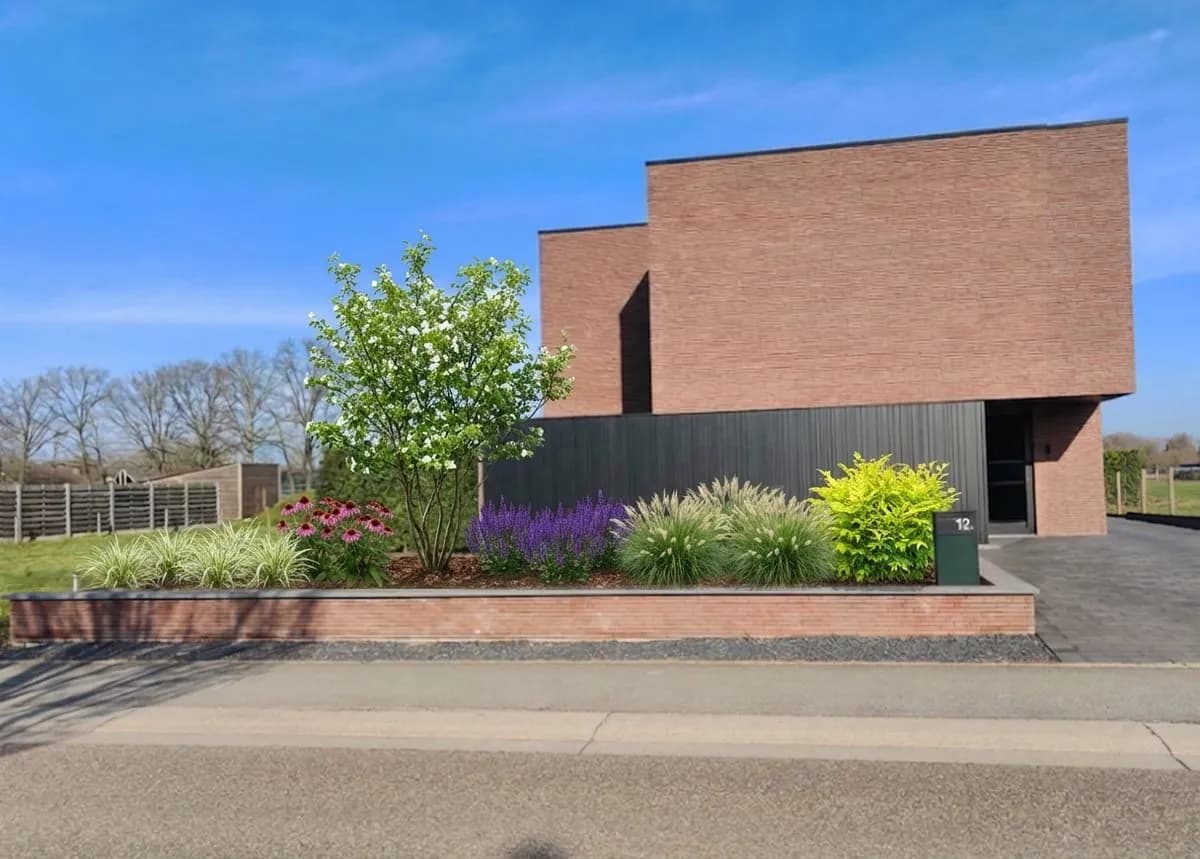
Want to see this in your garden?
Full design in HD: €7.99
Why plan borders correctly?
Many gardeners simply place plants in borders haphazardly - one year they bloom beautifully, the next feels chaotic. Without a plan you get a tangle of conflicting heights, color chaos, and months without bloom. A well-planned border works year-round, gives your eye rest, and builds interest.
A border is like an orchestra. Each plant has a voice - height, color, texture, flower shape. Without a conductor it sounds strange. With good planning every voice has its moment.
The three layers of height
Every border starts with the same logic: the "three-layer rule."
Layer 1: Back (tall)
- Height: 1.2-2m
- Function: background, structure
- Examples: Hydrangea paniculata, Syringa (lilac), Acer palmatum (Japanese maple)
Layer 2: Middle (medium)
- Height: 60-120cm
- Function: main mass, color
- Examples: Paeonia (peonies), Delphiniums, Echinacea (coneflower)
Layer 3: Front (short)
- Height: 20-60cm
- Function: edge finish, seasonal accents
- Examples: Salvia, Allium, Geraniums, winter blooms like Helleborus
This ensures not everything sits flat at the same height. Your eye can travel "upward" through the border.
Choosing color schemes
Many gardeners find color intimidating. There are four proven approaches:
Monochromatic (one color) All tints of one color: purple, violet, dark purple, light purple. Very cohesive, formal. Examples: Salvia nemorosa, Stachys officinalis, Liatris.
Triads (three colors) Three colors from the color wheel: purple plus yellow plus pink. Harmonious yet lively. Example: Geranium, Coreopsis, Phlox.
Warm (red, orange, yellow) Energetic, dramatic. But feels warmer and can be busy. Good for accents. Examples: Helenium, Rudbeckia, Kniphofia.
Cool (blue, purple, white) Calming, elegant. Much lighter feeling. Good for large borders. Examples: Delphiniums, Nepeta, Digitalis alba (white foxglove).
Many border experts mix: core colors (purple plus yellow) with silver-leaved plants (Artemisia, Santolina) to calm the tension.
Seasonal spread: what blooms when
A good border blooms at least 8-9 months per year. This requires planning:
Spring (March-May): Tulipa (tulips), Helleborus (hellebore), Bergenia, Pulmonaria. Accounts for: ~30% of the border.
Early summer (June-July): Paeonia (peonies), Delphiniums, Geraniums, Allium, Catananche. Accounts for: ~40% of border.
Late summer-autumn (August-October): Echinacea (coneflower), Sedum, Helianthus (sunflower), Aster, Coneflower. Accounts for: ~30%.
Winter (November-February): Evergreen structure: Buxus, Ilex, conifers, plus Helleborus and dried-standing plantings.
This means you have color somewhere year-round without large "gaps."
Free preview
Create your own garden design
The five steps for border design
Step 1: Determine width and length
- Minimum width 1.2m (otherwise too narrow for height layering)
- Length: as much as you want
- For sight lines: do not make the border symmetrical. 60/40 division feels more natural.
Step 2: Draw to scale Use paper or digital. Scale 1:50 is fine. Draw the back (wall, hedge), the front.
Step 3: Place background plants (layer 1)
- Place 3-5 of the same specimen per border (repetition gives rest)
- Ensure 1.5-2m spacing between
- Examples: Hydrangea paniculata every 2m, Acer at least one per border
Step 4: Add middle layer (layer 2)
- Place in groups of 3 or 5 (odd numbers feel more natural)
- 60-90cm spacing between clumps
- Mix colors: for example purple Delphiniums, yellow Rudbeckia, pink Paeonia in triangles
Step 5: Add front layer (layer 3)
- Insert low edge plants: Salvia, Catananche, Allium
- Ensure a continuous line at front (repetition gives unity)
- Add silver foliage: Artemisia, Santolina
Step-by-step
Step 1: Measure your border
Measure length and width of where your border will go. Minimum 1.2m wide. If planting multiple borders, ensure at least 1m spacing between.
Step 2: Choose a color scheme
Choose monochromatic, triads, warm or cool. Write it down. This helps your focus.
Step 3: Draw to scale
Scale 1:50. Draw back, front, average width. Place structure plants (back layer) with 1.5-2m spacing.
Step 4: Add middle layer
Place in groups of 3 or 5 of the same species. Ensure color mix (not all purple).
Step 5: Add front layer
Place low seasonal bloomers at front. Repeat at least two plants for unity.
Step 6: Add seasonal bloom
Insert spring bloomers (tulips, hellebores) and winter structure (evergreens).
Frequently asked questions
How many plants per m2?
Average 4-6 plants per m2 for mature size. For beginner borders: 6-8 (they fill in).
Can I improve existing borders?
Yes, add seasonal bloom (tulips in spring, Asters in autumn) and silver-leaved plants (Artemisia). This gives instant better structure.
Which plants are easiest?
Geraniums (robust), Echinacea (heat-tolerant), Salvia (drought-tolerant), Paeonia (long-lived). These are forgiving and always deliver.
Must my border be perfectly symmetrical?
No. Asymmetry feels more natural. A 3m border: place structure plants at 0m, 1.5m and 3m (irregular). This feels less "designed."
See how your borders come alive
On gardenworld.app you can upload photos of your front garden and see how borders fit. Plan height layers, color schemes, and seasonal bloom - and see it in realistic composite. On gardenworld.app you also get plant recommendations per border.
Create your own garden design
Upload a photo, pick a style, and get a photorealistic design with plant list in under a minute.
Full design in HD: €7.99
Related articles
Garden LayoutSquare garden layout: symmetry, diagonals, and proportions
How to divide a square garden into interesting zones. Choose between symmetrical axes, diagonal lines, or asymmetrical blocks with practical guidance.
 Garden Layout
Design a formal garden: symmetrical layout with central axis
Create a formal symmetrical garden. Central axis as anchor, mirrored plantings, and classical proportions for timeless elegance.