

Drip irrigation in the border: water efficiently
By the GardenWorld editorial team, updated on
Want to see this in your garden?
Full design in HD: €7.99
Drip irrigation in the border: what you need
You install drip irrigation in a border with five parts: a pressure regulator on the tap, a main hose, drip tubing with drippers every 30 or 60 centimetres, T-pieces to branch off, and a timer. For a 10-metre border the material costs about 30 to 50 euros in total and you can fit it in half a day. You run the system from mid-May to early September, when the border needs water most.
Compare that with watering by hand with a hose: that takes time every evening and loses much water to evaporation before it reaches the root zone. Drip irrigation delivers water straight to the root, so you save up to 50 percent on water, and you only need to adjust the timer when the weather turns drier or wetter.
What you need for a drip system
A drip system is not complicated. You only need five parts: a tap (which you probably already have), a pressure regulator, a main hose, drip tubing with drippers every 30 or 60 centimetres, and a timer. For a 10-metre border the total cost is about 30 to 50 euros. Per metre of tubing you pay about 0.50 to 1 euro.
The pressure regulator is important. Water pressure from your tap is often too high for drippers. Without a pressure regulator the water squirts out instead of dripping gently. A good pressure regulator costs 5 to 10 euros and reduces pressure to 1.5 to 2 bar, exactly right for dripping.
Preference for rainwater
Drip irrigation works best with rainwater. Tap water contains chlorine and in hard water areas can lead to lime buildup in the drippers, but in practice almost nobody worries about this in home gardens. The advantage of rainwater is that it is free and you are less dependent on the water meter. Connect your drip system to a water butt or your pond: even better.
If you use rainwater, put a small strainer between the butt and the pressure regulator. Debris clogs the drippers. Cleaning once per season is enough.
How to install drip irrigation: step by step
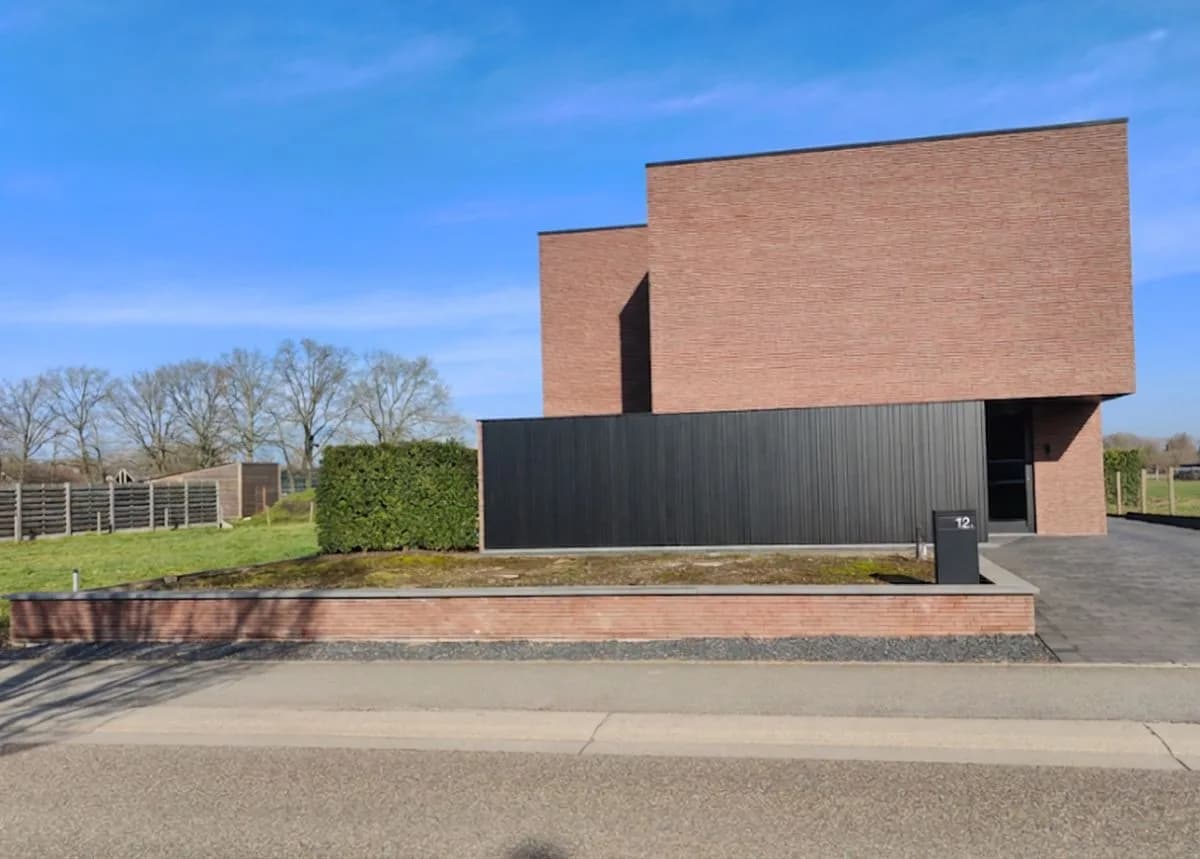
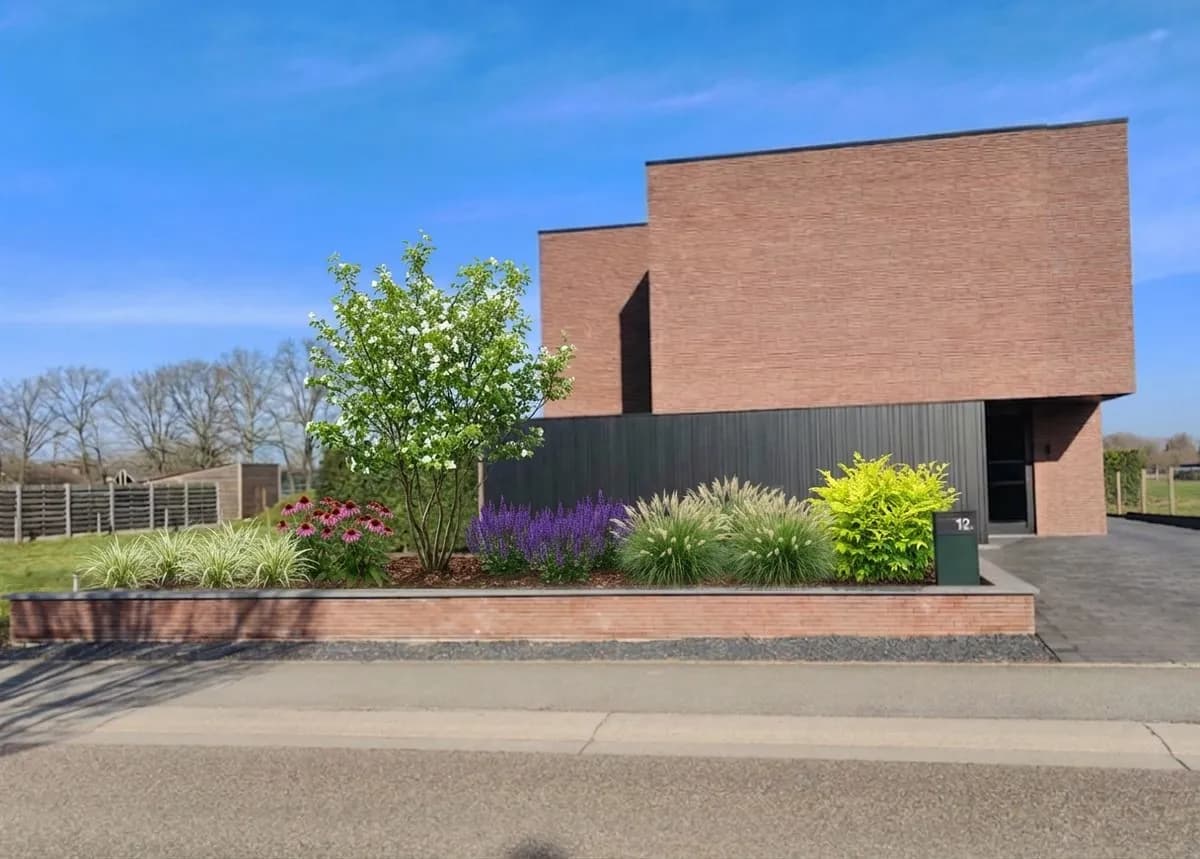
Start with a sketch. Draw to scale where your plants are and the height of your border. This shows you how much tubing you need. Measure the distance from your tap to the start of the border. Not sure how the border will look once it is planted and fitted with the system? On gardenworld.app you can see that first in an example of your own garden.
Place your pressure regulator directly on the tap first. Screw it hand-tight, not too hard. Connect the main hose to it. This does not need to be thin, ordinary garden hose of 12 or 13 millimetres works fine. Your layout determines whether you lay the main hose along the border or underneath.
Every 1.5 to 2 metres place a branch connection (a T-piece). Connect the drip tubing here. Lay this tubing in the border, just above the planting hole. Do not bury the tubing, because you want to see later what is loose and what is not. Cover it later with mulch, but keep it accessible.
Drippers are already in the tubing, often 30 or 60 centimetres apart. One dripper per plant is ideal. If a plant is further from the tubing, you can attach a short branch of 10-20 centimetres with a dripper that you place in the planting hole.
Place the timer on the tap after the pressure regulator. Then the entire system switches on and off. Many gardens use electric timers powered by batteries or mains. These cost 15 to 30 euros. Connect the timer to the hose and you are done.
Watering: duration and amount
The first two weeks after planting can be daily. For perennials in borders: once a day for 20 to 30 minutes, from mid-May to end August. In September less, in October and November only in dry periods.
Many gardens turn on the drippers in May, take them out in October and prepare for winter. Others leave the system up all year. Both work.
For container plants in pots: dripping works there too. Run one hose around a group of pots, one dripper per pot, and your container plants have daily water without you having to lift a finger.
Free preview
Create your own garden design
Which tubing for which distance
For a border up to 5 metres: ordinary garden hose 13 millimetres, one single line. No branches.
For 5 to 15 metres: garden hose with two branches. Do not put them both at the same end; spread them along the length.
For more than 15 metres: split into two systems. Two separate timers, two pressure regulators, running off in two directions. This ensures the pressure at the end of your border does not drop too low.
For very long borders: per 20 metres pressure drops by 0.2 bar. Your pressure regulator is set to 1.5 bar. So if your border is 20 metres long, the end of the drip tubing becomes weak. This is why gardeners with long borders install two loops.
Problems and solutions
Uneven watering
Drippers at the start of the tubing give more water than drippers at the end. Solution: use larger volume drippers at the end (there are 2 litres per hour and 4 litres per hour drippers), or place two or three loose drippers per plant at the end. Set the timer slightly longer then.
Clogged drippers
Sand, algae or lime deposit clogs drippers. Check every two weeks that all drippers still deliver water. Gently pull the tubing. No water? That dripper is stuck. Push a piece of wire through it. No success? Cut out that section of tubing and replace it.
Tubing damaged by sun
Thin drip tubing breaks in sunlight. This happens in years one to three. Cover your drip tubing with 2 to 3 centimetres of mulch. This protects against UV radiation and against treading.
Tubing loses too much water
Check the pressure regulator. Is sand in it? Unscrew it and rinse it clean. Or the setting is not at 1.5 bar but at 3 bar. Turn it back.
Winterising your drip system
Important: drain all water from the system before frost. Water in composite systems freezes and breaks tubing.
In October close the tap. Let water drip from the hose (set the timer for 1 minute). Then roll up the hose and store it dry, or leave it in the border under mulch.
The pressure regulator itself can stay on the tap; it withstands frost fine. Only the tubes must be dry. If you use rainwater from a butt: make sure the butt is empty before frost.
Many professional gardens use underground PVC pipes for drip irrigation. This is much more expensive (60 to 100 euros per metre) but permanent. For home gardeners surface tubing in mulch is a fine solution.
Step by step
Step 1: Make a sketch of your border
Draw to scale where your plants are and where your tap is. Measure all distances.
Step 2: Buy your materials
Pressure regulator, main hose, drip tubing, T-pieces, timer. Lay it all out on the workbench.
Step 3: Connect pressure regulator to tap
Screw it hand-tight, not too hard. Check for water leaks.
Step 4: Lay the main hose
From pressure regulator to the start of your border and possibly around the border.
Step 5: Make branches and connect drip tubing
Put T-pieces in the main hose and connect the drip tubing.
Step 6: Lay drip tubing in the border
Just above the planting holes. Place one dripper per plant.
Step 7: Connect timer
Place the timer on the tap. Programme it for your first watering: May to September.
Frequently asked questions
Can you replace drip irrigation yourself if it breaks?
Yes, very easy. Cut out the broken section and insert a short PVC connector sleeve, available at any garden centre for a couple of euros. Push the tubes over it and done. No glue or screws needed.
Can you dig drip irrigation under a path?
Better not. However carefully you work, you chop the tubing. Lay it along the side, under mulch. If you really must have a path, lay the tubing on both sides, or keep the path clear of tubing.
Does drip irrigation work on batteries?
Yes, many timers run on four AA batteries. Watch out: in autumn and winter batteries drain faster. Check in October if your battery still works, and replace it then.
How much does maintenance cost per season?
Almost nothing. Clean the filter once a year, unclog a few drippers once a season. That is all. No spraying, no expensive products.
See it first in your own garden
Are you unsure where to place the system or what it will look like? On gardenworld.app you see first in an example of your own garden how everything fits together. Upload a photo of your border, view free a preview of a new design with drip irrigation; the detailed image with plant list costs 7.99 euros, one-time, no subscription.
Create your own garden design
Upload a photo, pick a style, and get a photorealistic design with plant list in under a minute.
Full design in HD: €7.99
Related articles
 Garden Construction
Rainwater harvesting for gardens: from rain barrel to underground tank
Collect rainwater and use it in your garden. Everything about rain barrels, IBC tanks, underground cisterns, rain gardens, bioswales, grants and maintenance.
 Garden Construction
Garden drainage: how to prevent waterlogging
Prevent waterlogging with proper garden drainage. Guide to drainage pipes, soakaways, French drains and when you really need them.
 Garden Construction
Watering during a heat wave: when, how much, what first
A heat wave dries your garden fast. Learn when to water in the morning, how deep it must go, which plants need extra care, and what you can safely ignore.