

Create a garden border: step-by-step from lawn to planting bed
By the GardenWorld editorial team, updated on
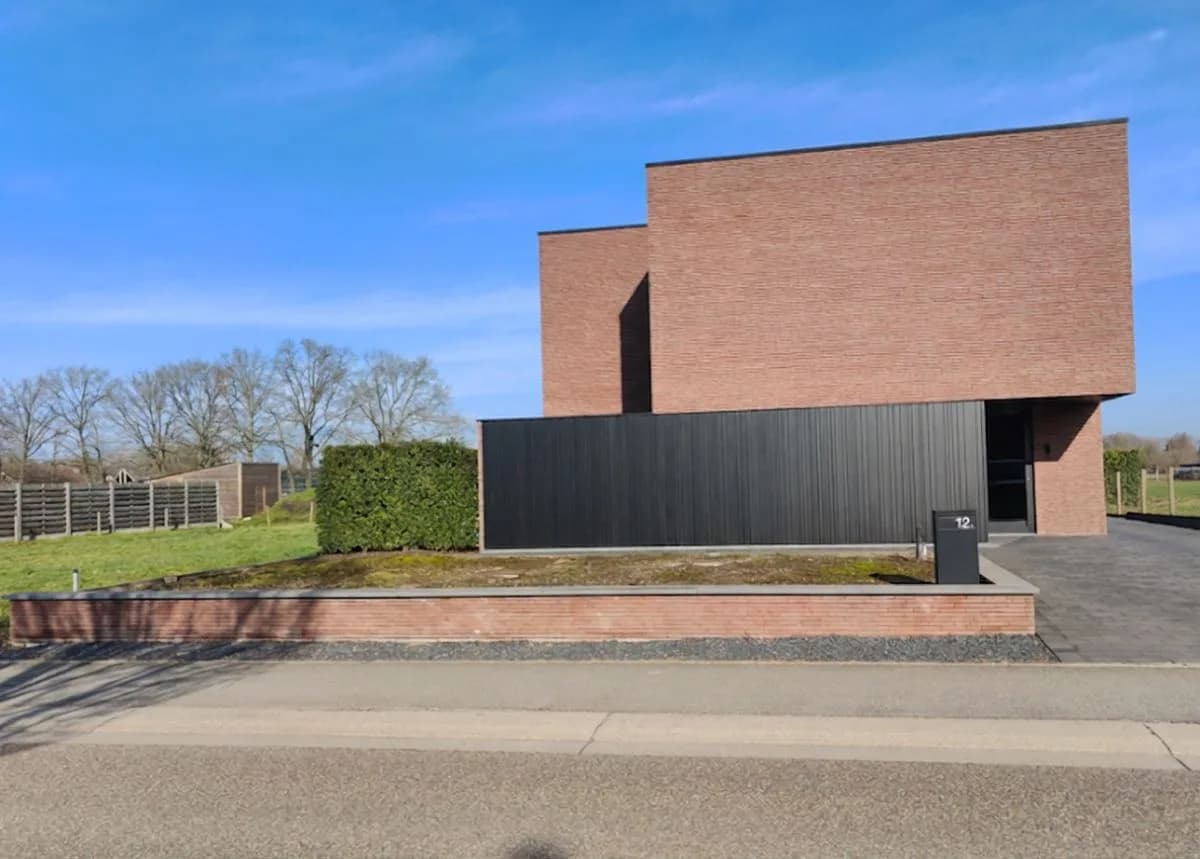
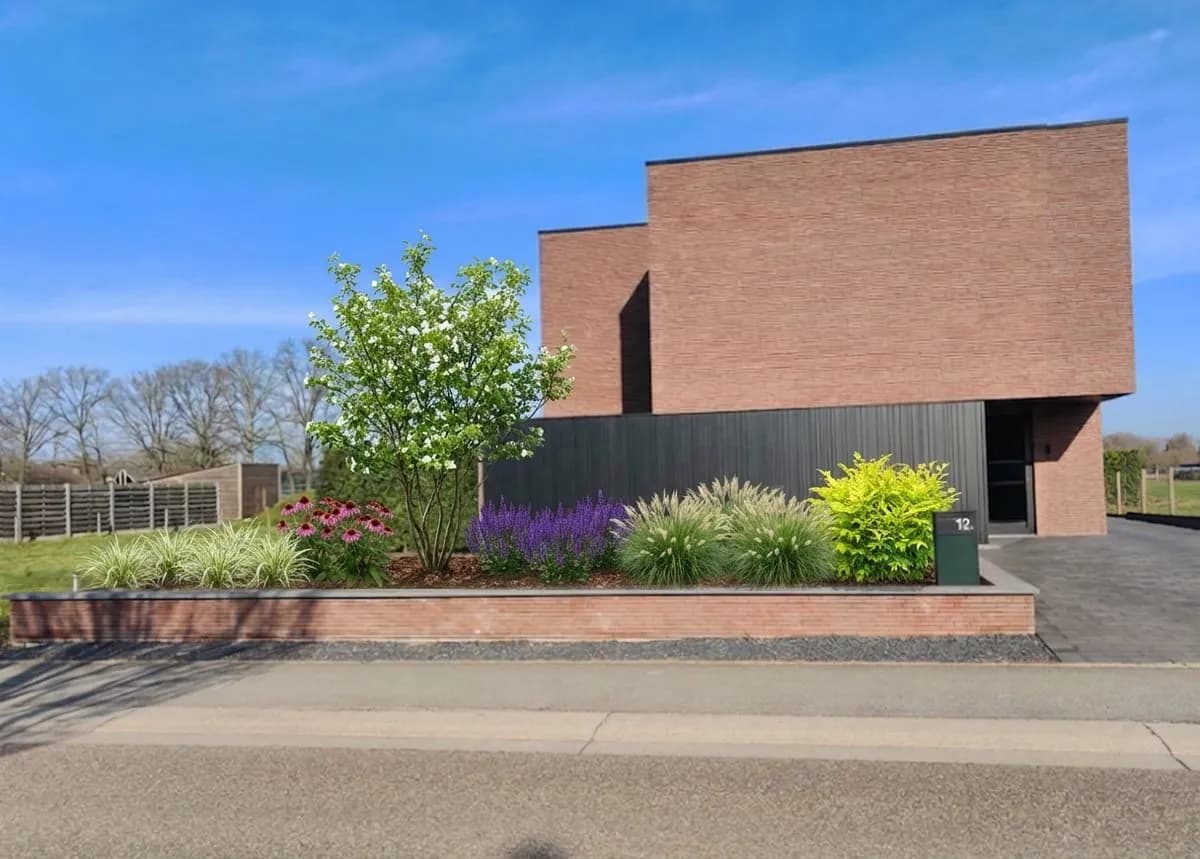
Want to see this in your garden?
Full design in HD: €7.99
Why add a garden border?
A border is more than decoration - it is structure. A neat plastic or metal border clearly separates your planting bed from your lawn. Without a border, your soil gradually migrates into the grass, plant roots press against each other, and unwanted grass creeps into your flowers. With a border, you keep your planting bed cleanly defined, reduce maintenance headaches, and your front yard looks professional.
A good border does three things at once: 1) separates soil layers, 2) creates visual lines, 3) prevents soil erosion. That is why investing in a proper border is always worthwhile.
What border material suits you?
Three popular materials: plastic, corten steel, and concrete.
Plastic edge: Affordable (3-5 euros per meter), bends easily for curves, simple to install. Lasts 8-10 years. Not premium, but sufficient for most front yards.
Corten steel (weathering steel): Beautiful rust-brown colour, very durable (30+ years), modern look. Expensive (15-25 euros per meter). For those with budget and wanting a sleek appearance.
Concrete blocks: Sturdy, long-lasting, neutral grey tone. Mid-range price (8-12 euros per meter). Best for straight lines, awkward for curves.
For this guide we focus on plastic borders, the most accessible and popular choice.
What you will need
Materials:
- Plastic border tape (usually 10-30 cm tall, measured per metre)
- Screw anchors (every 40-50 cm)
- Height adjustment screw (optional, for deeper borders)
- Saw or cutting tool for border edge
- Shovel and spade
Tools:
- Tape measure
- Pencil or chalk (marking)
- Drill bit
- Work gloves
Preparation: determine the edge
Before digging, decide where your border will run. Step into your front yard. Look at where your lawn meets your planting beds. Most yards do not have a sharp edge - we will fix that.
Pro tip: Walk along your front and spot any existing footpaths between lawn and beds. Follow those natural routes. Or chalk a straight line along your front. Straight lines look neater than curves.
Sweep the lawn clear of leaves and weeds at the future border line.
Free preview
Create your own garden design
Step-by-step
Step 1: Dig and remove soil
Dig a trench along your border line. The trench must be roughly 5-10 cm deep, depending on border height. Make it wide enough to lay your plastic border loosely. Ensure the bottom is completely flat - no bumps.
Remove all weeds, roots, and stones from the trench.
Step 2: Place border and level
Lay your plastic border into the trench. The top edge should be level with your lawn (or slightly higher if you want it visible). Check with a level that it runs perfectly flat. Uneven borders cause water to drain oddly.
Step 3: Secure border with anchors
Place screw anchors every 40-50 cm along the inside of the border, through its holes. Tighten firmly so the border cannot lift (frost and pressure can do this). If your border has no pre-drilled holes, drill 4-5 mm holes yourself and screw them in.
Step 4: Fill and finish
Fill the outside of your border (lawn side) with a little soil or sand. This helps the border stay in place. Press down firmly.
Fill the back (plant side) with garden soil, compost, or planting medium. Now you can begin planting.
Frequently asked questions
How tall should my border be?
Standard 10-15 cm. That gives enough separation without being too visible. For formal gardens, you can go 20-30 cm - that feels more architectural.
Can I curve my border?
Yes. Plastic borders bend nicely. Mark your curved line with chalk, dig the trench along that line, and lay the border in the curves. Anchors keep it in place. Avoid very sharp angles - they break.
My border is uneven - water pools?
Check your level and make the trench flatter. Pooling water causes rust on steel and soil washout. Flat is essential.
How long does plastic last?
8-10 years. After that it becomes brittle from UV. For longer life, use corten steel or concrete - those last 20-30+ years.
Can I replace an existing border?
Yes. Remove old soil, take out the old border, follow the steps again. Ensure your new trench is at the same level as the old - otherwise you get steps.
A neat front yard starts with edges
A border seems small, but it makes the difference between "wild green" and "a thoughtfully designed front yard." Do it right and it pays for itself for years.
On gardenworld.app you can upload your front yard and see how borders and edges support your planting plan. Visualise first, dig later.
For all your garden construction needs, gardenworld.app offers design and planting planning that takes borders and structure into account.
Create your own garden design
Upload a photo, pick a style, and get a photorealistic design with plant list in under a minute.
Full design in HD: €7.99
Related articles
 Garden Construction
Laying a gravel path: foundation, edges, and gravel selection
A solid gravel path starts with proper preparation. Learn how to build a durable garden path with foundation and correct finishing.
 Garden Construction
Building a retaining wall: handling level differences and water
A retaining wall holds soil in place on slopes. Learn how to safely build a wall with proper drainage and solid foundation.
 Garden Construction
Building a wooden garden deck: terrace step by step
A wooden deck brings warmth and natural beauty to your garden. Learn how to build a durable garden terrace with strong substructure and safe assembly.