

Bindweed and couch grass: exhaust the roots instead of digging
By the GardenWorld editorial team, updated on
Want to see this in your garden?
Full design in HD: €7.99
Dig up bindweed (Calystegia sepium) or couch grass (Elytrigia repens) and you make the problem bigger: every 2 centimetre root fragment you cut loose simply regrows next season. The only approach that actually works without chemicals is cutting off light to the roots until they run out of reserves.
You do that with a layer of cardboard, a thick layer of mulch on top, and weekly pulling of whatever still pushes through. Within a year you will see clearly less regrowth, and after two to three years an averagely infested border is clean. Below is exactly how much cardboard, how much mulch, and how often to check.
Why digging and hand weeding fail
Bindweed roots can reach 1.5 metres deep, with side roots running horizontally for metres beyond the shoots you see above ground. Couch grass spreads through underground rhizomes, and each 5 to 10 centimetre fragment can grow a fresh shoot on its own. Turn the soil over and you cut those roots into pieces, and almost every piece deeper than 5 centimetres regrows within weeks.
A 10 square metre border with bindweed can look just as full within two months of a single digging session, sometimes fuller, because you have scattered the root system over a wider area. Hand weeding has the same flaw: you pull the above ground vines away, but the root stays put and sends up new shoots within a week.
The only way to actually shrink a root weed is to deny it the chance to photosynthesise, again and again, until its root reserves run dry. That takes time, usually one to three growing seasons, but it is the only approach that gives a lasting result.
Step 1 in detail: cardboard as a light barrier
Use plain, unprinted cardboard from moving boxes, with tape and staples removed. Lay it in a single layer directly on the soil, after pulling away as much above ground growth as you can first. Overlap the sheets by at least 20 to 30 centimetres, since every gap where light gets through is a spot where bindweed pushes back up within weeks.
Soak the cardboard with the hose before laying it. Wet cardboard lies flat, does not blow away, and follows the uneven surface of the soil far better than dry cardboard does. Around existing shrubs or hedge plants, cut the cardboard to fit around the stem, leaving roughly a 10 centimetre gap so the bark does not start to rot.
Cardboard works year round, but autumn (September to November) is the easiest time to lay it, since you are clearing leaves anyway and the soil is damp enough for the cardboard to settle straight away.
Step 2 in detail: mulch thickness and material choice
On top of the cardboard goes at least 10 centimetres of mulch, preferably 15 centimetres in full sun, since more light pulls roots upward harder. Wood chips from your own pruning work well, as does leaf mould from autumn or well rotted garden compost. Budget roughly 1.5 to 2 cubic metres of mulch for every 10 square metres you want to cover.
Fresh grass clippings work too, but never lay more than 3 centimetres in one go, or they turn slimy and start to smell; build the layer up gradually over a few weeks instead. Stable manure is fine, but ask whether the hay the horses ate was weed free, or you risk seeding new weeds into the bed.
The mulch layer does more than block light, it also stops rain from softening the soil under the cardboard at spots where the cardboard has already begun to break down.
Step 3 in detail: weekly checks and pulling
Every week, walk the covered area and pull out any shoot that has pushed above the mulch, as close to the root as you can reach. In April, May and June, when growth pressure peaks, this may be needed twice a week. From July to September once a week is usually enough, and in winter you can drop back to once a month.
Every time you pull a shoot before it unfolds full leaves, the plant spends energy without winning any back through photosynthesis. After roughly ten to fifteen interrupted attempts in one season, bindweed roots show a noticeable drop in vigour; couch grass tends to tire after about ten attempts, since its rhizomes sit shallower.
Free preview
Create your own garden design
Never on your own compost heap
Whatever you pull out does not go on your garden compost. An ordinary garden bin rarely holds the 60 to 65 degrees Celsius needed for more than a few days, which is not long enough to actually kill root fragments and rhizomes, and you end up spreading viable weeds across your whole garden through the compost.
Pile pulled bindweed and couch grass separately on a sheet of cardboard or in a closed bag, in full sun, and let it dry out completely for three to four weeks before putting it in your green waste bin. Only once the roots turn brittle and brown instead of fleshy and white are they actually dead.
Along hedges: do not disturb the roots
Next to an existing hedge the same method applies, but more carefully. Lay cardboard in a strip 30 to 40 centimetres wide, right against the base of the hedge, without touching or loosening the hedge plants own roots. Leave that strip unplanted and undisturbed for at least six months before adding new groundcover such as ivy, periwinkle or Pachysandra.
Not sure the groundcover you have in mind will suit the rest of your border? On gardenworld.app you can see a free preview of your own garden with a new planting plan, before you buy or plant anything.
What the law allows
In Belgium private individuals have not been allowed to buy or use glyphosate since 2018; in the Netherlands professional use outside agriculture has been banned since 2017 and private use is strongly discouraged, including against bindweed or couch grass. Check the current rules with your region or the Ctgb. Vinegar and salt are also banned for home gardeners as weed control on paving such as patios and driveways, and they damage soil life and nearby plants regardless. The cardboard and mulch method is therefore not just the environmentally sound choice, for home gardeners it is also the only legal way left to deal with root weeds in a border for good.
Step by step
Step 1: Pull above ground growth
Pull away as many vines and shoots as you can before laying cardboard. It does not need to be perfect, the plant already loses most of its leaf surface this way.
Step 2: Lay the cardboard
Lay soaked, unprinted cardboard in a single layer, with 20 to 30 centimetres of overlap and no gaps or tears.
Step 3: Spread the mulch
Spread 10 to 15 centimetres of wood chips, leaf mould or compost over the cardboard, right up to the edges.
Step 4: Pull weekly
Check weekly, more often during the growing season, and pull every new shoot the moment it appears, before it unfolds leaves.
Step 5: Dry before disposal
Let pulled root weeds dry in full sun for three to four weeks before disposal, never straight into the compost bin.
Frequently asked questions
How long before bindweed is actually gone?
With weekly follow up you will see clearly fewer shoots after one growing season. Full removal usually takes one to three years, depending on how deep and extensive the root system already was.
Can I just use glyphosate since it works faster?
No, private sale and use of glyphosate is banned in the Netherlands and Flanders. The cardboard and mulch method is slower, but it is the approach that remains legal and keeps your soil life intact.
Does this method work between paving stones too?
No, cardboard and mulch are not needed there. Pull bindweed and couch grass out of paving joints by hand or with a joint scraper, since vinegar and salt are banned for home gardeners on paving.
Can I plant straight away once the cardboard comes off?
Wait until the mulch period has run at least three months for open borders and six months along hedges, or the weeds will grow straight back through the root balls of your new plants.
See it in your own garden first
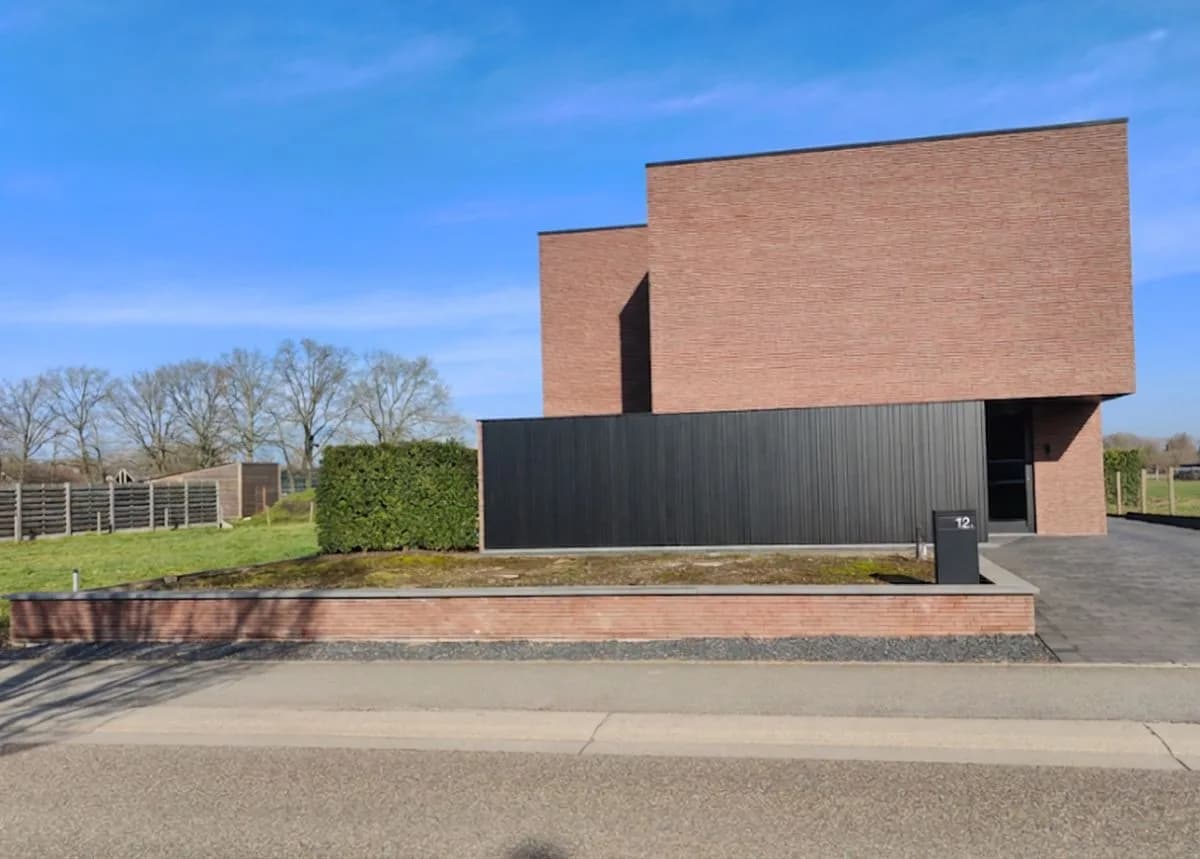
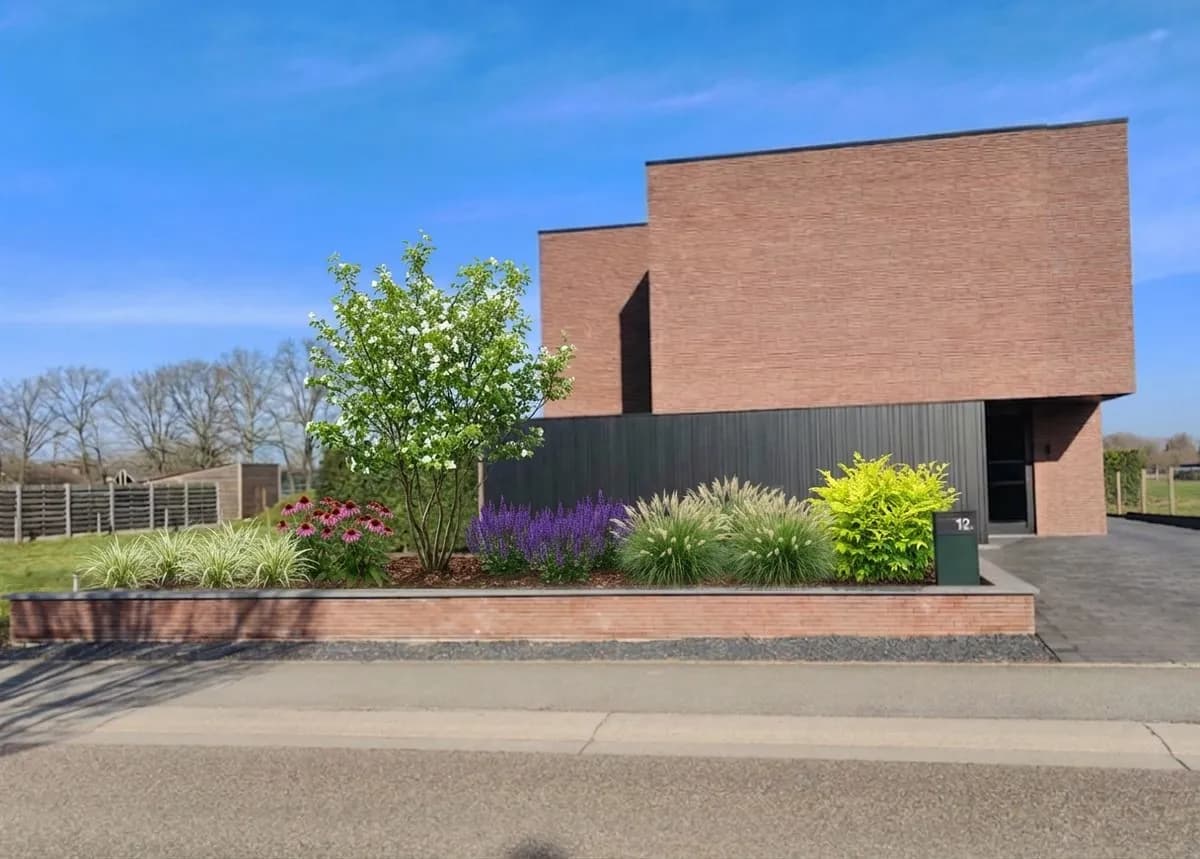
A border free of bindweed and couch grass looks different than you might expect, especially once you plant groundcover or new borders the moment the soil is clear again. Upload a photo of your garden on gardenworld.app, and see a free preview of a new design with plants suited to your soil. The sharp image with a matching plant list costs 7.99 euros, a one time payment, no subscription.
Create your own garden design
Upload a photo, pick a style, and get a photorealistic design with plant list in under a minute.
Full design in HD: €7.99
Related articles
 Soil & Ground
To dig or not to dig: pros and cons explained
Should you dig your garden? Discover the benefits and drawbacks of digging versus no-dig, and when each method works best.
 Soil & Ground
Ground cover plants against weeds: plants that work
Ground covers smother weeds where mulch falls short. Learn which plants spread quickly and need little maintenance.
 Soil & Ground
Improve soil life in your garden: fungi, bacteria, and worms
A thriving garden grows from healthy soil. Learn how to stimulate fungi, bacteria, and earthworms for better growth.