

Weeds between pavers and joints without chemicals
By the GardenWorld editorial team, updated on
Want to see this in your garden?
Full design in HD: €7.99
The weed problem on your patio
Weeds between pavers and in joints are the most annoying detail in an otherwise neat garden. They grow quickly (especially in spring), clog joints, and even a beautiful patio looks neglected. In the Netherlands and Belgium it is worse because rain keeps joints permanently damp, encouraging weeds.
The good news: you do not need chemicals. Glyphosate (Roundup) and other herbicides are not only damaging to the environment, in Belgium private individuals have not been allowed to buy or use glyphosate since 2018; in the Netherlands professional use on hard surfaces has been banned since 2017 and private use is strongly discouraged. Check the current rules with your region or the Ctgb. Vinegar and salt sound natural, but damage your pavers and soil, and are just as banned on hard surfaces. There are better ways that work faster, cost less, and look better.
Why joints matter
Before you tackle weeds, understand why they grow there. Joints are the gaps between pavers, usually filled with sand or mortar. This is food and water for plants. Rainwater keeps your joints permanently damp, seeds blow in, and weeds shoot up. A solid joint filled with hardening sand has far fewer weeds than a loose joint with plain sand.
Your patio should start with good finishing. Old patios with washed-out joints are weed paradises. The problem begins at installation: joints not compressed, ordinary sand, no waterproof mortar.
The joint scraper: your best weapon
This is the first step and far more effective than you think. A joint scraper (also called a joint raker) is simple: a metal point or wheel. It costs 3 to 8 euros and lasts ten years.
How it works: you press the point into the joint and pull toward you. This loosens sand, moss, algae, and weed roots. You rake out this mixed debris. Done. It looks rough, but that is the point: you will remove that loose layer and replace it.
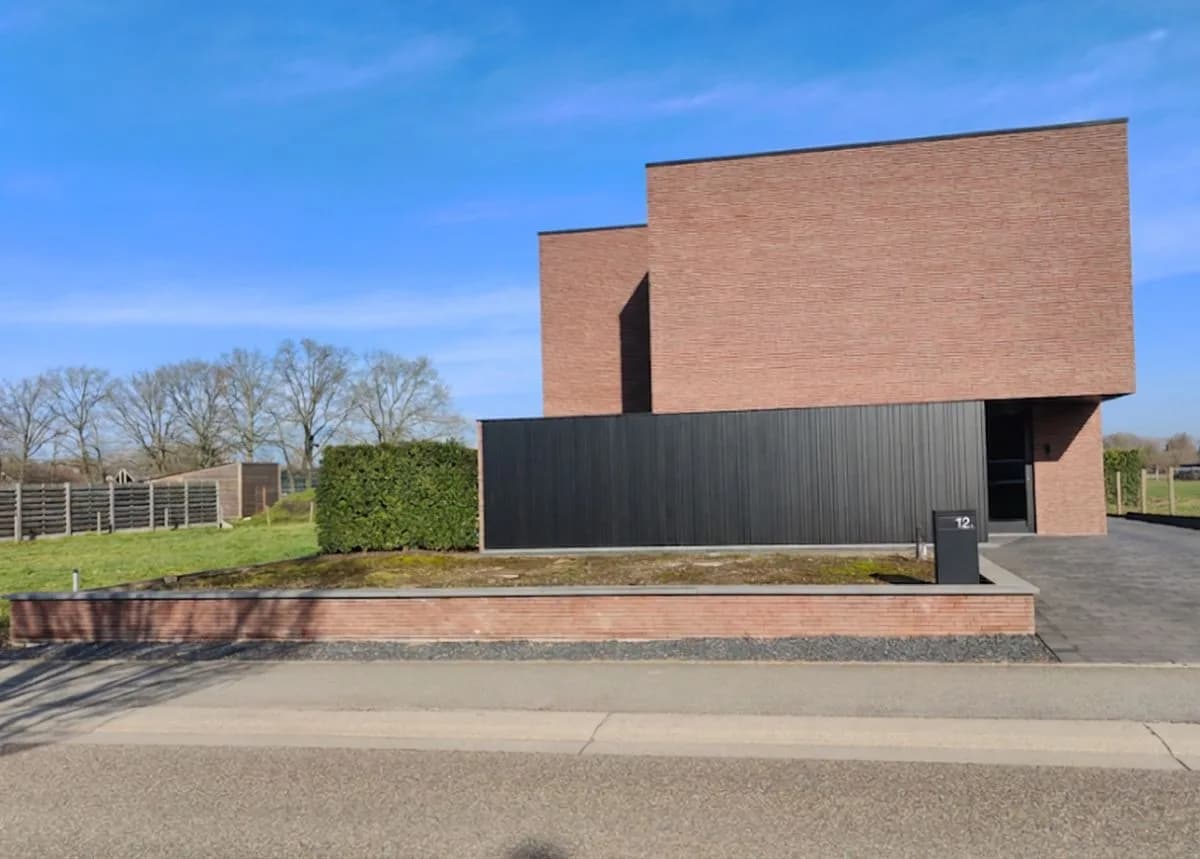
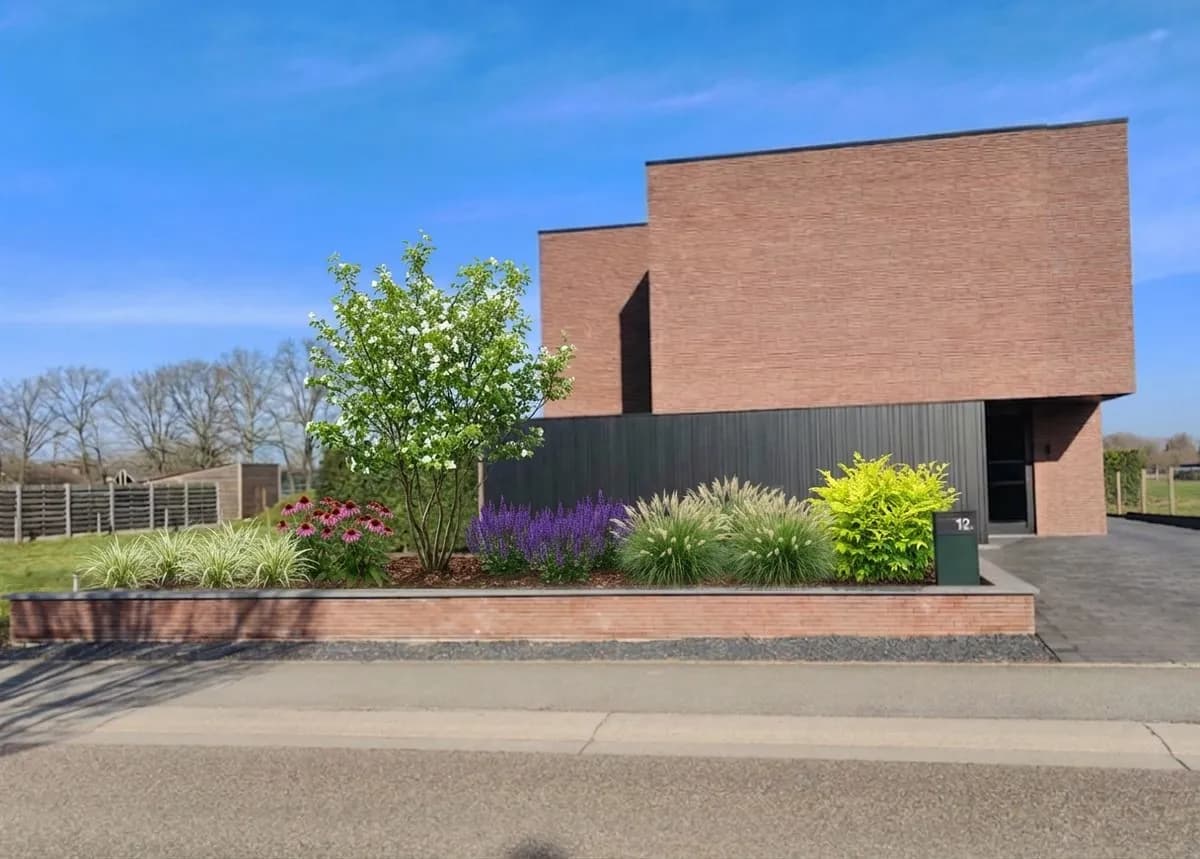
Work on a dry, sunny day, not after rain. Sand needs to be dry to come loose. Check shaded joints: those dry slowly and fill with weeds faster. You will spend more time there. Wondering how your patio fits the rest of your garden before you start? On gardenworld.app you can see a free preview of a new layout with your own borders and lawn first.
Hot water: quick and effective
After scraping joints, flush them clean with very hot water (not boiling, it damages pavers). A pressure washer on a low setting works well, but be careful: too much pressure washes away sand from joints you want to refill.
Hot water kills surface moss and algae, and many small plants. It is not chemical, so safe for children, pets, and bees. In practice it works mainly together with scraping: hot water alone does not kill deep-rooted weeds.
Best timing: do this in April-May when weeds start, and again in July-August. Two rounds per season usually suffice.
Burning with a gas torch
For those wanting to go further: a garden torch or weeding torch. This is a device with a wide burner (runs on a small gas cartridge) that you slowly move across the joints. The heat kills weeds instantly and scorches off moss and algae.
Advantages: fast (about 200 square meters per hour), no chemicals, and joints clean without scraping. Disadvantage: it uses gas (about 2 euros per 100 square meters), and you must be careful around plastic steps or planters. Grass next to pavers can scorch.
Hire a torch for about 20 to 30 euros per day from a tool rental shop, or buy a simple one for 40 to 60 euros. Once in May and once in August is usually enough.
Important: torching works better on sand-filled joints than cement joints. Cement does not release weeds as easily.
Free preview
Create your own garden design
Hardening joint sand: prevention beats cure
Here is the key: finish joints well so weeds gain less hold. After scraping and cleaning, flush joints thoroughly, let them dry, and fill with hardening joint sand (commercial filler sold at garden centres and hardware stores).
This sand hardens and becomes tougher than loose sand. It does not stop water completely (you want some drainage), but it cuts weed growth significantly. Much hardening sand is also grey or anthracite, looking neater than yellow or white sand.
Cost: about 15 to 25 euros per bag for 30 square meters. Done once when you redo your patio, then you have ten years of peace.
This is prevention, not repair. When you next renovate your patio, ask your contractor explicitly for hardening joint sand, not plain sand.
Sweeping helps, but only partly
Regular sweeping feels like you are keeping joints clean, and partly you are. Sweeping removes leaves, moss, and silt that feed weeds. Do this at least every two weeks from April to September, more often in wet periods.
But sweeping alone does not solve it. You remove the food but not the roots already there. Weeds regrow. Sweeping is maintenance between proper scraping sessions, not the solution itself.
Tip: use a soft brush (not a stiff broom, which damages joints) and sweep along the joints rather than across them. That way you do not push silt deeper in.
Why vinegar and salt are not allowed
You see this online everywhere: vinegar kills weeds, salt kills weeds. In the Netherlands and Belgium both methods are banned on hard surfaces (patios, driveways, joints), and for good reason.
Salt damages pavers and mortar, stays in the soil, and poisons everything around it for plants and animals. Vinegar is organic, but the concentration needed to kill weeds also damages your patio and encourages weed resistance over time. Both are punishable: roughly 100 to 1,500 euros in Belgium, similar amounts in the Netherlands.
So these are not real alternatives. Glyphosate, vinegar, salt: all three are off the table.
Step by step
Step 1: Examine joints carefully
Check which joints are worst. Shaded joints fill faster. Joints in clay or damp soil are worse than those in sand.
Step 2: Scrape joints on a dry day
Use your scraper to rake out all joints. This takes time, but goes faster than you think (100 square meters in 4 to 5 hours). Put the loose debris in a bucket.
Step 3: Flush clean with hot water
Flush all joints with hot water from a watering can or a pressure washer on low. The goal is to wash away sand and silt, not to undermine your joints.
Step 4: Let dry completely
Wait 2 to 3 full dry days before refilling the joints. This is crucial. Damp joints do not accept sand well.
Step 5: Refill joints with hardening sand
Sprinkle hardening sand over the joints, work it in with a sweeping motion (not pressing, which breaks the joint back open), and brush off the excess. Do not water for the first day.
Step 6: Regular maintenance
Sweep monthly, re-scrape in June-July if needed, and flush with hot water once per season.
Frequently asked questions
Can I prevent all this by having less patio?
Yes, more patio means more joints and more work. Gravel, lawn, or groundcover do not have this problem. But if your patio is already there, the method above works best.
How long does hardening sand last?
With good care, 8 to 12 years. In shade and damp spots it fails faster, in dry sunlight it lasts longer.
Is a pressure washer safe for pavers?
Yes, on low power (100 to 150 bar). High power (250 bar and above) damages joints and can crack pavers, especially natural stone. Start low and increase only if needed.
Do organic weed killers work?
Ready-made products based on acetic acid or fatty acids exist, but they fall under the same rules as vinegar and are not allowed on hard surfaces. They are also expensive (tens of euros per bottle) and work less well than the method above.
See it in your own garden first
Your patio feels bigger and neater once joints are clean. Think about how your patio fits into your overall garden plan. Upload a photo of your garden to gardenworld.app and see for free a preview of a new design with your patio, borders, and lawn. The detailed design with full measurements and plant list costs 7.99 euros, one time, no subscription.
Create your own garden design
Upload a photo, pick a style, and get a photorealistic design with plant list in under a minute.
Full design in HD: €7.99
Related articles
 Garden Construction
Remove green moss from patio and tiles
Green moss comes off with baking soda and scrubbing. Learn how to clean your patio safely and keep it moss-free afterwards.
 Garden Construction
How to build a patio: materials, costs and method
Build a patio in your garden. Compare paving, decking and composite on price and upkeep, with a step-by-step guide for DIY builders.
 Garden Construction
Garden paths: comparing materials and making the right choice
Which material suits your garden path? Compare block paving, gravel, natural stone and stepping stones on price, upkeep and style.