

How to build a drainage pit: step-by-step guide
Por la redacción de GardenWorld, actualizado el
¿Quieres ver esto en tu jardín?
Diseño completo en HD: 7,99 €
TL;DR
A drainage pit is a hole (usually 1x1 metre, 1 metre deep) with gravel and pipes that carry water away. Perfect for wet front yard. Cost: 30-100 euros. Dig hole, fill with gravel (bottom), add drainage pipes (sides), add more gravel (top), seal up. Water disappears. Plants happy.
Why a drainage pit?
Many gardens suffer from waterlogging (heavy rain, poor drainage, clogged sewers). Water stands for weeks after rain. Plants rot. Diseases flourish. Grass vanishes. A drainage pit solves this by whisking water away quickly.
How? The pit works like a "sponge": water sinks in, gravel holds it, pipes carry it away to lower ground or storm drain. Your soil dries fast after rain, and you garden normally.
How does a drainage pit work?
Simple: a hole with layers. Bottom: large gravel stones (4-8 cm). Middle: drainage pipes with holes. Top: small gravel (2-4 cm). Surface: sand/soil. Water sinks in, percolates through gravel, is picked up by pipes, and gone.
When do you need a drainage pit?
- Water stands longer than 1-2 days after rain
- Grass/plants turn yellow (waterlogging)
- Rot/fungi near plants
- Front yard is a swamp
- Groundwater high (especially winter)
Small wet spot? Maybe just add gravel and compost. Very wet garden? Drainage pit really helpful.
Size determination
The pit does not need to be large. For a small front yard (50-100 m2) one pit suffices:
- 1 x 1 metre, 0.8-1 metre deep
For bigger gardens (100-200 m2) make two pits or a longer "trench" instead of hole.
Location: usually corner (where water gathers) or lowest spot.
Materials
You need:
- Spade (for digging)
- Tape measure (1x1 metre, ~1 metre deep)
- Gravel: 1-2 tons (bottom layer large gravel 40-80 mm, top layer small gravel 10-20 mm)
- Drainage pipes: 2-4 pipes of 100 mm diameter, about 2 metres long (with holes)
- Geotextile (optional): Fabric against silting (soil blocks gravel)
- Soil/sand: For sealing
- Dump truck (optional): For gravel transport
Cost: gravel/pipes/geotextile together ~50-100 euros.
Step-by-step
Step 1: Mark spot and dig
Mark 1x1 metre square on wettest spot. Dig 0.8-1 metre deep. Sides can slope slightly (not vertical).
Tip: soil you remove use elsewhere (mound, raise another bed).
Step 2: Lay geotextile (optional but recommended)
Many gardeners lay fabric (geotextile) first on bottom and sides. This prevents soil sinking into gravel and clogging it. Not required, but saves maintenance.
Step 3: Add large gravel
Layer large gravel (4-8 cm, usually "gravel 40-80") on bottom. About 15-20 cm thick. This is your base layer. Prevents pipes clogging.
Step 4: Place drainage pipes
Lay 2-4 pipes (100 mm diameter, PVC) on large gravel. They can touch. Pipes must have holes (usually already drilled on sides). These holes catch water.
Make sure pipes slope slightly downward on one side (so water can drain). A small above-ground outlet (e.g., to storm drain or retention area) helps.
Step 5: Add small gravel
Now layer small gravel (2-4 cm, usually "gravel 10-20") around and over pipes. This raises your pit to about 50-60 cm total depth. Gravel catches water and drains it to pipes.
Step 6: Seal top
On top of gravel lay layer (5-10 cm) sand or soil. This prevents gravel/dirt splashing up. Done!
Optional: lay grate over it (to keep invisible) or plant on top.
Vista previa gratis
Crea tu propio diseño de jardín
How water reaches the pit
Water flows down through:
- Surface (grass, bedding)
- Top gravel/sand
- Drainage pipes (holes catch water)
- Via pipes to outlet
Much water reaches pit directly through sides. This is good.
Water outlet
Water must go somewhere. Three options:
- Storm drain: Water flows to existing sewer/driveway
- Retention pond: Pipes lead to small pond (prettier, ecological)
- Lower ground: Pipes to low spot below garden
Choose what fits. Usually: storm drain (simple) or pond (nice).
Maintenance
A drainage pit is nearly maintenance-free. Each year:
- Check if geotextile collapsed (not too much silt)
- Check outlet (pipes not clogged)
- Remove dead leaves/rubbish (prevent blockage)
Every 5 years: replace small gravel (worn, compacted).
Alternative: Drainage trench
For very wet gardens sometimes better than one pit: drainage trench (long, narrow pit). E.g. 1 metre wide, 10-20 metres long, 0.8 metre deep. Same filling (gravel, pipes). Spreads water over larger area, much more efficient for big wet zones.
Frequently asked questions
How much gravel do I really need?
Rule of thumb: for 1x1x1 metre pit about 1-1.5 tons gravel. Large gravel bottom layer (0.3 tons), small gravel around/above (0.7 tons). Better too much than too little.
Can I recycle gravel from somewhere else?
Yes, absolutely. Old building gravel, old driveway gravel, anything goes. As long as not contaminated (chemicals, metal).
How many pipes?
For small pit (1x1): 2-3 pipes suffice. Larger pit: 4-6. More pipes = more surface = faster drainage. Not wrong to put many in.
Do I need geotextile?
No, but recommended. Without: soil slowly sinks into your gravel and clogs it. With: soil stays above fabric. Your pit works longer.
Where do I outlet water?
Best: existing storm drain (comes from wall). Second: retention pond (2-3 tons gravel, water plants). Third: lower ground part of garden. Check local regulations; in some areas you cannot simply drain.
Does my pit get clogged with leaves?
Yes, leaves can pile up. So: do not place pit directly under tree. Check each autumn for leaf buildup. Build grate over it if needed.
What if there is no water after making pit?
Check:
- Holes in pipes (you must drill through)
- Slope angle (water must roll, not sit)
- Outlet blocked (check where water goes)
- Fabric collapsed (soil blocks gravel)
Otherwise: drainage pit not your solution. Maybe raise whole garden (expensive).
Can I reuse gravel after years?
Yes, small gravel goes to paths or mulch. Large gravel still fine. Nothing really "wears out", just compacts.
Discover your own garden design
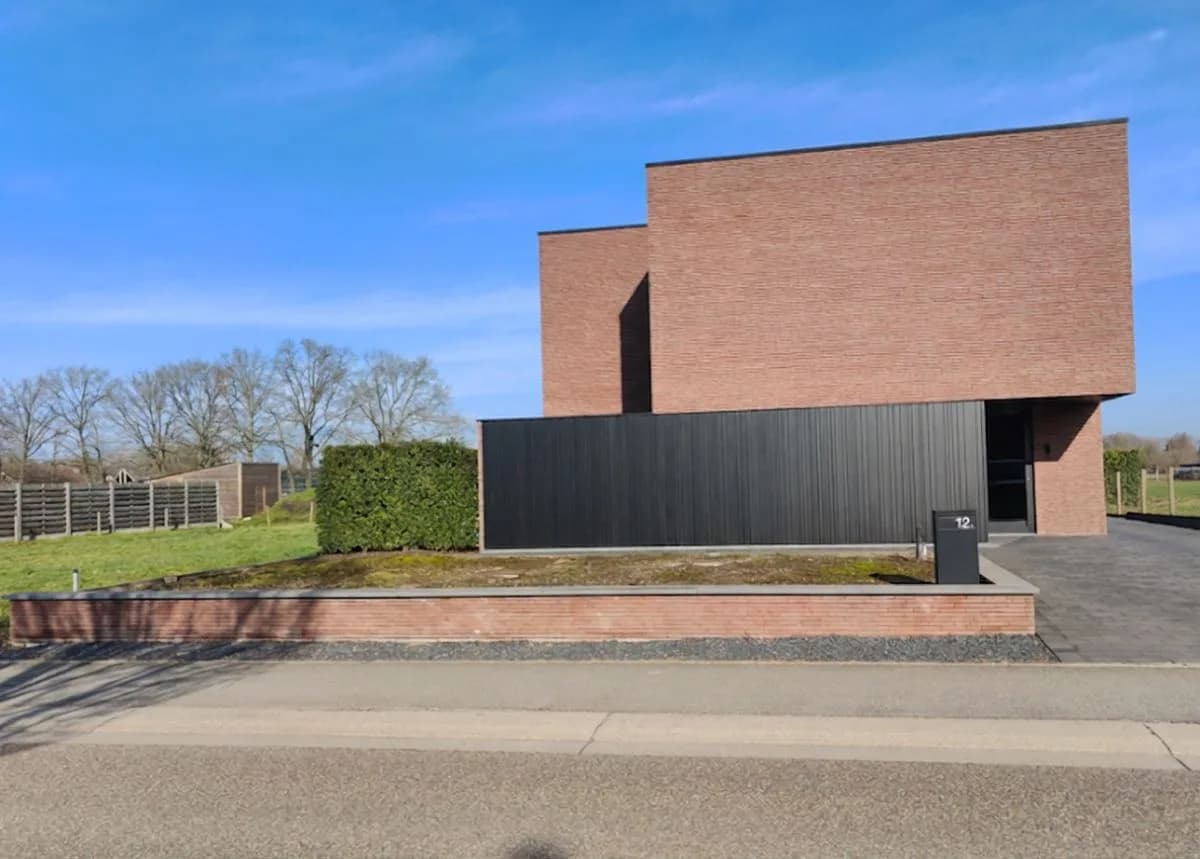
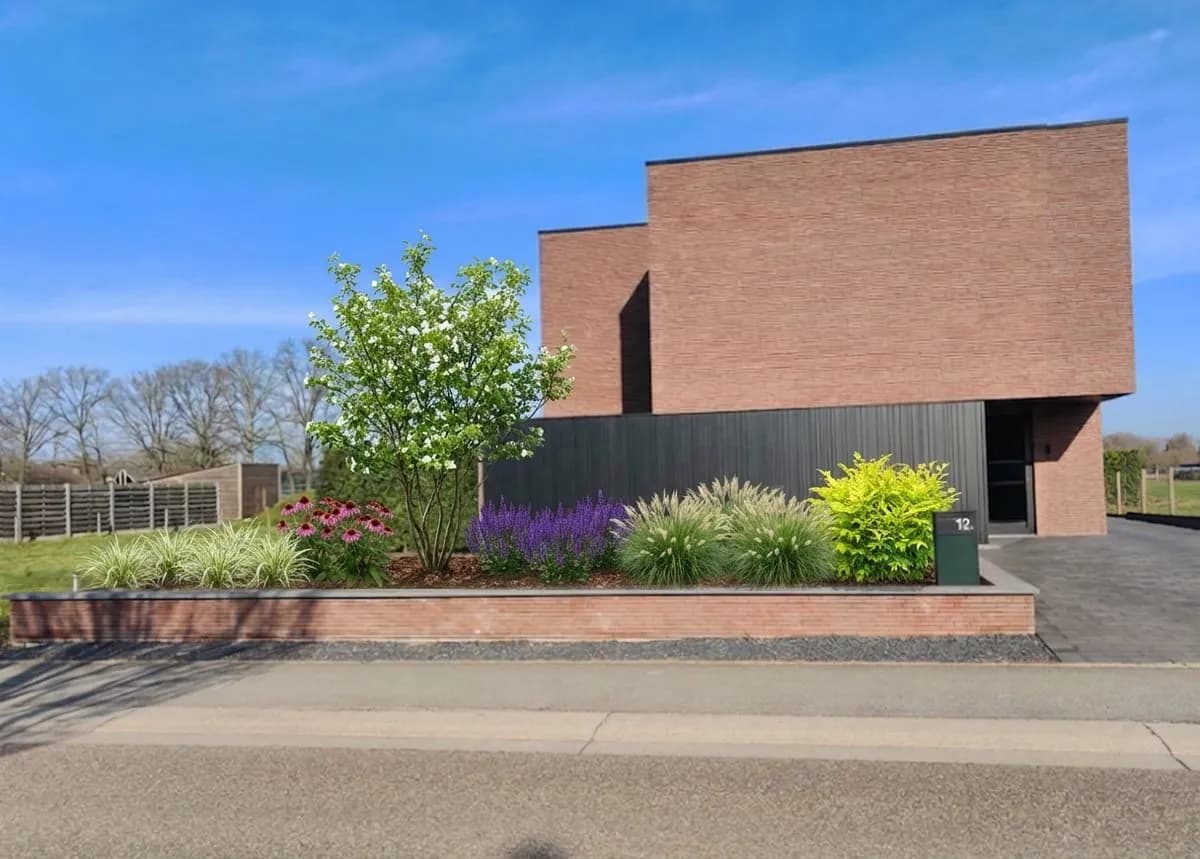
At gardenworld.app you upload your front yard and see how your drainage pit helps. With good drainage, plantings can grow that never thrived on your wet soil before. Plan your drainage pit and see the result on gardenworld.app.
Crea tu propio diseño de jardín
Sube una foto, elige un estilo y obtén un diseño fotorrealista con lista de plantas en menos de un minuto.
Diseño completo en HD: 7,99 €
Artículos relacionados
 Preparación del terreno
Soil test: how to order and read results
A soil test reveals everything about your ground. Learn how to order one, which values matter, and what to do with the results.
Preparación del terrenoSalt damage: restore your soil step-by-step
Salt in soil (from road salt, sea wind) kills plants. Learn to heal your garden with drainage, compost, and salt-tolerant varieties.
Preparación del terrenoGreen manure: which to choose - phacelia, clover, or mustard?
Green manures enrich your soil without chemicals. Learn which type suits your garden and when to sow them.