How to build a raised garden pond: step-by-step guide
Por la redacción de GardenWorld, actualizado el
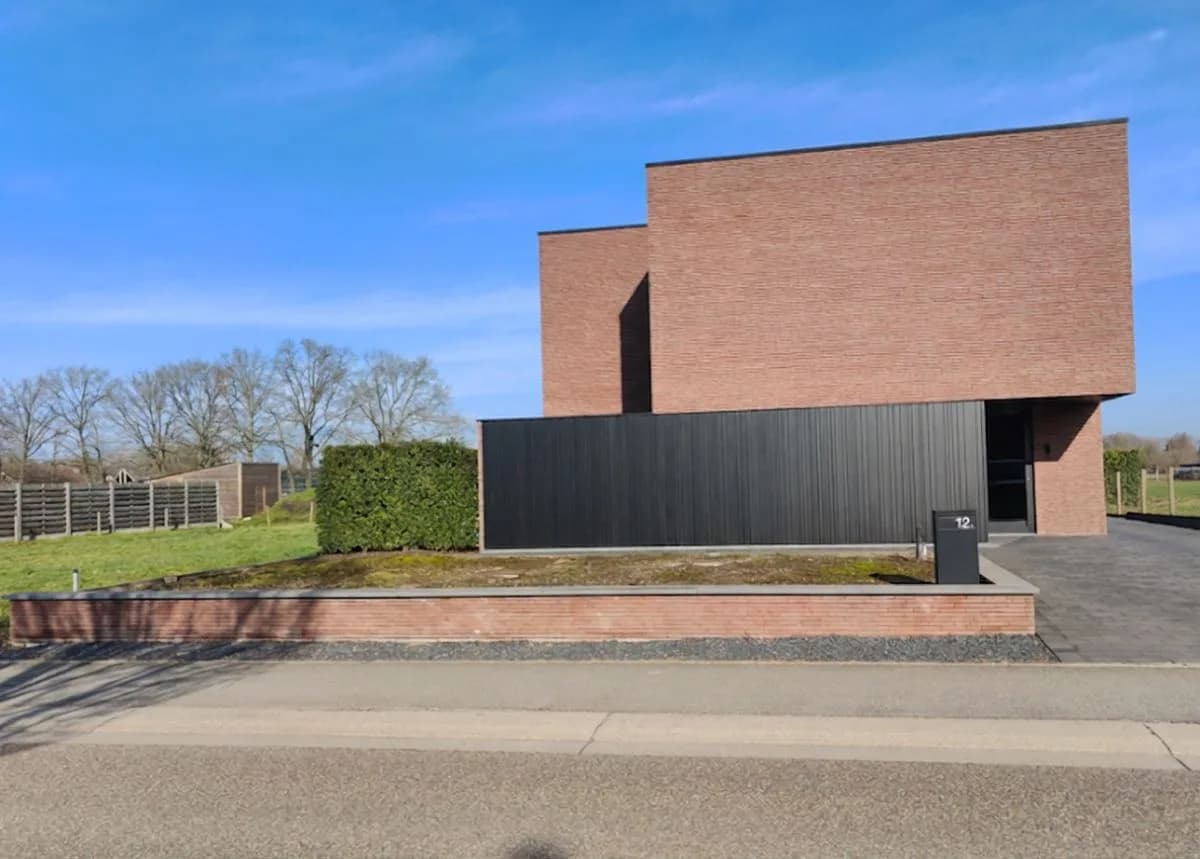
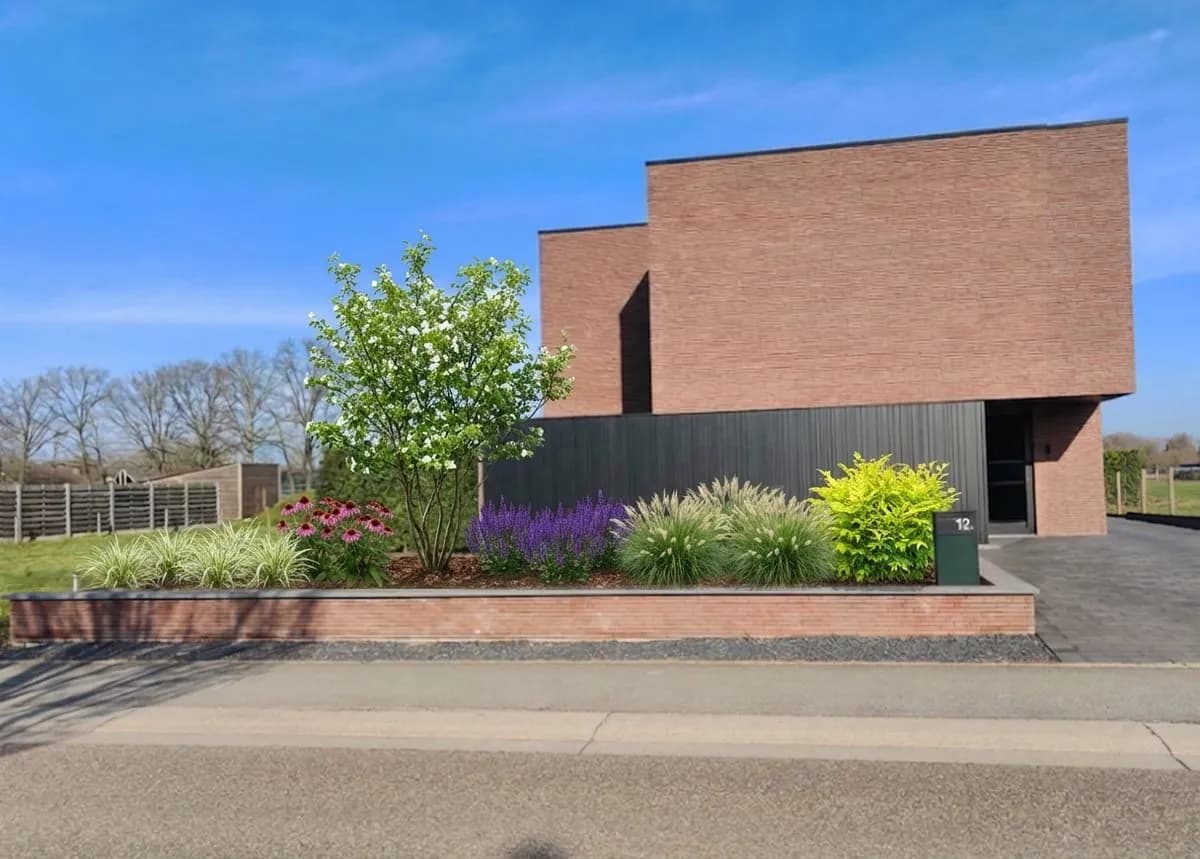
¿Quieres ver esto en tu jardín?
Diseño completo en HD: 7,99 €
TL;DR - Raised pond quickly built
A raised pond gives direct sight of water and adds much more dimension to the garden. Keys: solid wall (masonry, wood or composite), waterproof liner without leaks, growing medium for water plants, and adequate filtering. A small pond (1 x 2 m) you can build in a weekend. Ensure minimum 60-80 cm depth so fish overwinter safely.
Why is a raised pond better than a ground dug pond?
Ground ponds require much digging and struggle with poor soil. A raised pond sits independent of earth, feels less boggy, and you can look closely. Plus much safer for small children - you see everything, height helps supervision. For ergonomics: no bending needed to place plants.
Which materials do you choose for the pond walls?
Concrete blocks are strong but rough. Bricks are beautiful but absorb water (need good treatment). Wooden walls (treated wood) give warmth and look classic. Composite or plastic blocks are modern and low-maintenance. For best appearance many gardeners choose natural stone. Costs more but looks impeccable 10-15 years.
The wall interior must be waterproofed. Use EPDM liner (rubber) or plastic liner. EPDM lasts 40-50 years and stays flexible, plastic half as long. EPDM is preferred for longevity.
How deep should your pond be?
Minimum 60 cm for fish (need depth against cold). For plants only, 40 cm suffices. Deeper means more thermal mass - water cools slower in autumn. For a front garden 70-80 cm ideal: large enough for small fish, not too deep to dig.
What prevents your pond turning green?
Clean water is balance: not too much sunlight (algae growth) and sufficient movement (pump). A filter with bacteria helps greatly. Water plants consume nitrates and reduce algae growth. A few water lilies give shade. All together: clean water without chemicals.
Step-by-step
Step 1: Foundation and placement
Choose safe spot - not under rooflines (leaves) and not in deep shade. Sunny (4-6 hours/day) is better. Groundwork: ensure ground is flat and compact. Sand/gravel bed (5-10 cm) so stones sit nicely.
Step 2: Wall masonry
Build your wall. Concrete block masonry or brickwork. Ensure everything is level - a crooked wall always looks strange. Interior must be smooth, no sharp edges.
Step 3: Waterproofing layer
This is crucial. EPDM liner at least 0.75 mm thick. Lay it carefully so it covers entire floor and sides. Allow 30 cm overhang at top so liner does not move. Use bricks as weights to hold liner in place.
Step 4: Water and plants
Fill your pond slowly. Let water sit 24 hours so chlorine (from tap) evaporates. Then bring in plant materials: soil underlay, gravel, aquatic soil type. Add water plants: water lilies in baskets, and marginal plants like Japanese iris or marsh marigold.
Step 5: Filter and optional fish
Install filter (biological or mechanical). This keeps water clear. Wait minimum 2-3 weeks until filter media becomes active before adding fish. Start with few fish - overstocking is the biggest mistake.
Vista previa gratis
Crea tu propio diseño de jardín
Frequently asked questions
How much does a raised pond cost?
Small pond (1.5 x 1.5 m): 500-1000 euro for materials (wall, liner, plants, basic filter). Larger (2 x 3 m): 1500-3000 euro. This without labour. Many gardeners do it themselves since building is fairly simple.
Can I keep goldfish in a small raised pond?
Yes, but not too many. Rule: 50 litres water per fish. Your 1.5 x 1.5 x 0.7 m pond holds roughly 1600 litres - so max 30 goldfish. Realistically: 5-10 fish in small pond, then you keep water clean.
Won't my pond turn green with algae?
Early year (spring): yes, green water is normal. This passes once enough water plants are established (4-8 weeks). Filter helps too. UV lamps can help quickly but are no permanent solution. It is learning balance.
How much maintenance does a pond need?
At least monthly: check water level (summer, evaporation), remove dead plant material, check filter. Yearly: clean and prepare for winter (bring tropical plants inside, tidy up plant debris). Not much work if you start right.
Winter preparation
In autumn: cut back finished flowers, remove leaf matter. In winter: fish go dormant (no feeding). Filter can be off. Ice layer on pond is OK - cut holes for gas exchange. Ensure ice no thicker than 3 cm (else too little oxygen).
Raised ponds freeze faster than ground ponds, so ensure depth. Electric pond heater can help cold winters.
Integration in garden design
At gardenworld.app you can see how your raised pond fits in your complete garden design. Water plants and surrounding plantings together make much prettier picture than a lone pond.
Tools and materials
- EPDM liner or plastic liner (0.75 mm minimum)
- Masonry (concrete, brick or wood)
- Mortar and silicone
- Water plants
- Filter (biological type preferred)
- Water level indicator
- Net and maintenance tools
Crea tu propio diseño de jardín
Sube una foto, elige un estilo y obtén un diseño fotorrealista con lista de plantas en menos de un minuto.
Diseño completo en HD: 7,99 €