

How to build garden steps on slopes: complete guide
Por la redacción de GardenWorld, actualizado el
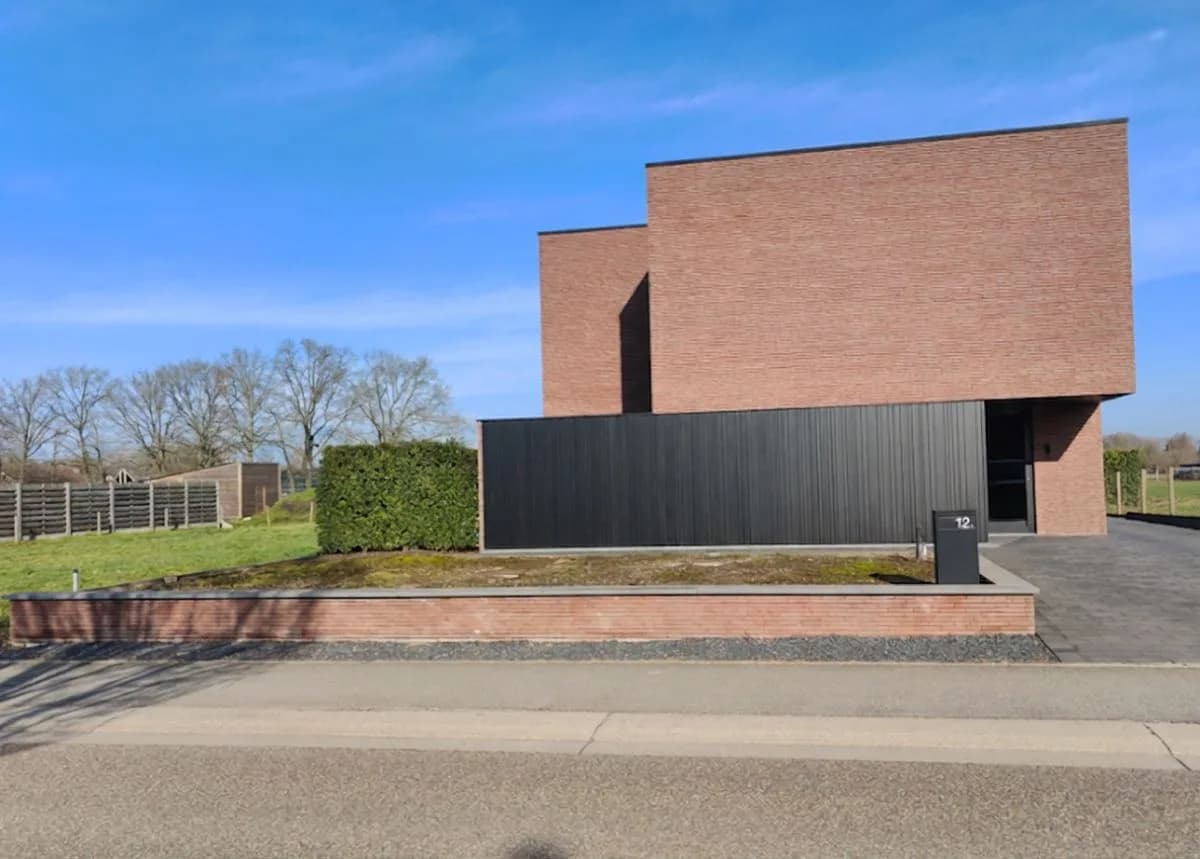
¿Quieres ver esto en tu jardín?
Diseño completo en HD: 7,99 €
TL;DR - Garden stairs quickly built
A garden stair with good step angles and foundation matters as much as a nice path. The golden rule: riser (step height) 15-18 cm, tread (step depth) 30-35 cm. These dimensions feel safe. Ensure solid footings under stairs - no loose ground. Check slope, mark your step angles, and build bottom to top.
Why do many garden stairs fail?
Uneven stairs, grass creeping over steps, stones coming loose: all consequences of poor prep. Many gardeners simply dig stones into a slope without foundation. After winter everything sinks. Water runs backwards and rot sits greyly on the substructure. A well-built stair with solid base lasts 25-30 years.
How do you measure the correct step angles?
First measure total height difference from top to bottom. Is it 90 cm? Then you need step calculation. Divide by 17: 90 ÷ 17 = 5.3 - so 5 steps. No round numbers? Adjust so all steps equal. Unequal steps cause tripping.
Depth is just as important. Minimum 30 cm, preferably 35 cm, so your foot rests comfortably. Stairs steeper than 45 degrees feel unsafe and are awkward with plant pots and tools.
Which materials suit garden stairs?
Natural stone, brick, concrete - much choice. Natural stone is most durable, especially granite. Brick gives charm but wears faster. Prefab concrete steps are handy but can look plastic. For front faces use wood - it gives warmth. Note: wood rots in 10-15 years without treatment.
At gardenworld.app you can see different stair styles in your garden design before building.
Drainage under stairs prevents water rising
Water behind stairs = slippery and worn stairs. Ensure drainage both sides. Drainage pipe along the back helps greatly. Water must go away, not up your foundation.
Step-by-step
Step 1: Staking and measurement
Measure total height difference. Calculate how many steps you need with the formula. Mark lines with string so you see where stairs go. Check from the house: are the stairs in right perspective?
Step 2: Groundwork and base compacting
Dig to the necessary height. Remove grass, weeds, loose soil. Compact the ground well. This is crucial - loose earth sinks. Check your base cannot hold water (no soft clay).
Step 3: Foundation or concrete
For permanent work: pour concrete foundation (5-10 cm). This is your stair skeleton. Add drainage pipes along sides. Let cure at least 3-4 days. For less permanent stairs: compacted sand bed (10 cm) suffices if well packed.
Step 4: Laying step blocks
Start at bottom. Place your first step carefully. Check level. Next step sits on the back of the previous - with overlap. Work your way up, row by row. Each block must sit firmly.
Step 5: Finishing and jointing
Joint work between steps with mortar or joint sand. Finish sides with stone or wood. Check drainage - water must flow down the sides, not through.
Vista previa gratis
Crea tu propio diseño de jardín
Frequently asked questions
How much height can I handle with one staircase?
Theoretically unlimited, but practically 1.5-2 metres per run without a landing rest. More than 2 metres? Build a small platform halfway, then more stairs. This makes stairs safe and less tiring.
My stairs are slippery - how do I prevent this?
Choose rough material. Raw natural stone wears less smooth than polished stone. Against moss and slipperiness: check drainage (water should not constantly flow along) and clean regularly. Anti-slip tape can be a last resort but not beautiful.
Can I use wood for the front faces?
Yes, hardwood trim can look nice. But wood rots without treatment. Use hardwood and impregnate well, or replace every 10-15 years. Not all wood species handle moisture changes.
How long does building take?
Building a 5-6 step stair: 1-2 days groundwork, 2 days step placement and jointing, plus cure time if using concrete. Total: roughly a week including curing. Do not work in rain - soil gets too waterlogged.
Railings and safety
For stairs higher than 60 cm a handrail is wise. Check local building codes. For stair more than 1 metre high a railing (or balustrade) required at least one side. Ensure the railing is anchored firmly - it is not decoration.
Maintenance for long-lasting stairs
Annually remove moss and weeds. Check jointing - repair loose joints. Keep drainage holes clean. Wood (if used) impregnate every 3-4 years. Otherwise: little maintenance. Stone stairs last decades.
Share your finished stairs on gardenworld.app and see how they integrate into your complete garden design.
Tools needed
- Level
- Measuring tape
- String and corners
- Shovels and spades
- Rake for cleaning
- Hand tamper or plate compactor
- Mortar tub (if jointing)
Crea tu propio diseño de jardín
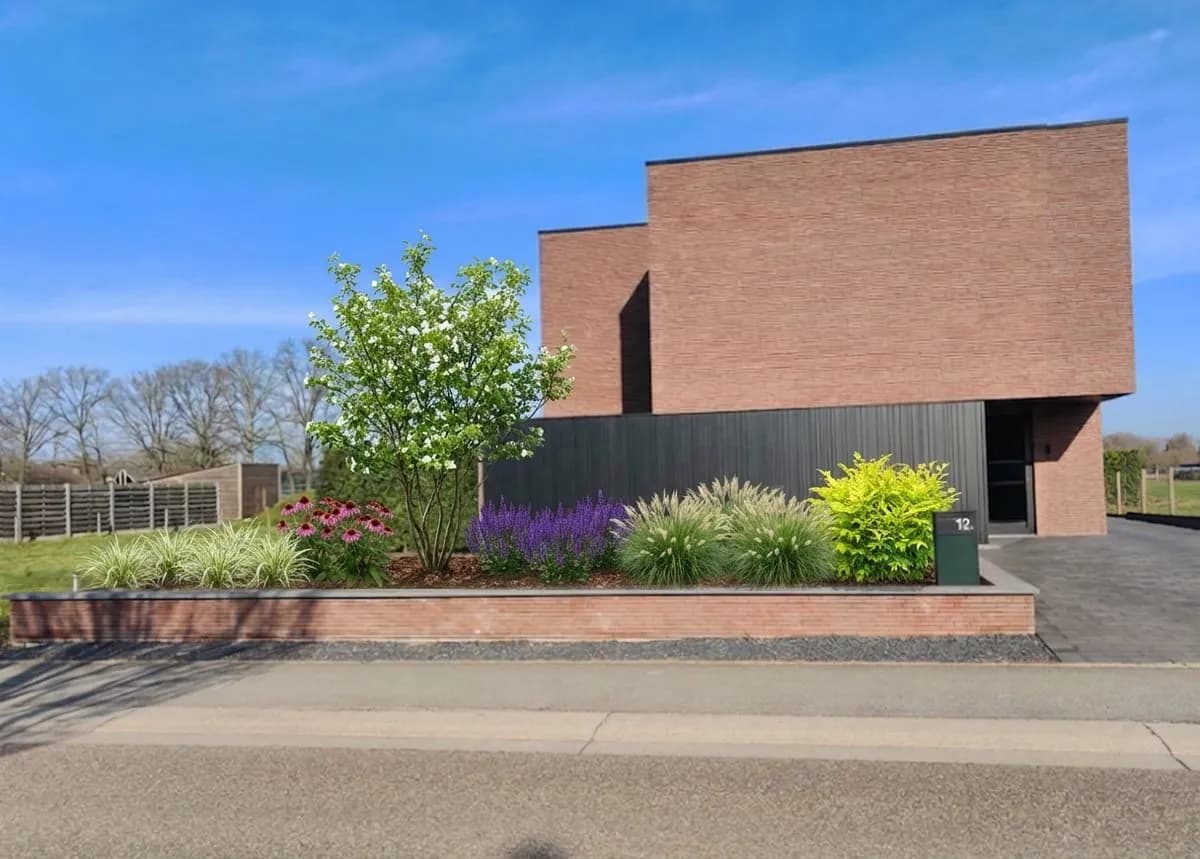
Sube una foto, elige un estilo y obtén un diseño fotorrealista con lista de plantas en menos de un minuto.
Diseño completo en HD: 7,99 €
Artículos relacionados
 Construcción de jardines
How to build a natural stone garden path: complete guide
Learn to lay a beautiful natural stone path with solid foundation and proper jointing. Step-by-step instructions for lasting gardens.
 Construcción de jardines
Creating a roof garden: weight, drainage, and wind-tolerant plants
A roof garden carries heavy loads. Learn the calculations for safe design, proper drainage, and plants that withstand wind.