

Garden planning on paper: scale drawing and layout
Por la redacción de GardenWorld, actualizado el
¿Quieres ver esto en tu jardín?
Diseño completo en HD: 7,99 €
Why not just design your garden as you go?
Many people toss a plant in the ground and see what grows. This feels spontaneous, but it usually leads to regret. Two years later you see: "That plant is too large, it shades that other one, and my pathways are muddy and illogical." Too late to fix without major digging.
Planning on paper takes one hour now but saves weeks of work later. With a scale drawing you quickly see where things do not fit, where you need more paths, and how your garden actually looks. Your mistakes are cheap: erase and restart, no digging required.
What do you need?
Not much:
Measuring tape (at least 16 feet): measure your garden.
Pencil and eraser: you want to correct mistakes.
Millimeter paper or plain A3/letter paper: this becomes your base.
Ruler: draw straight lines.
Scale: for example, 1 centimeter = 1 meter. You write this on your paper so you know 10cm on paper = 10 meters in reality.
Colored pencils (optional): for clarity (green = grass, brown = gravel, grey = patio).
Step 1: Measure your garden accurately
This is the foundation. Get your tape measure and measure:
- Width of your garden (left to right)
- Length (front to back)
- Where is your house? Measure from the front
- Where are large trees? Measure their location and crown size
- Where are hedges, fences, property lines?
- Are there slopes or level changes?
Write everything on a rough sketch (not neat, just numbers).
Do not skip this step. Many garden plans fail because someone estimated, and then the patio is 12 inches too small.
Step 2: Draw your garden to scale
Choose your scale. For small gardens (up to 70x70 feet) 1cm=1m works well. For larger, try 1cm=2m.
Example: your garden is 30x50 feet. With 1cm=1m scale you draw a rectangle of 9cm x 15cm. Simple.
Write your scale at the top so you do not forget later.
Now draw the permanent features:
- Your house and front door
- Large trees (draw a circle for canopy)
- Property lines and fences
- Patios or hardscaping
Yes, this looks boring. But it is your base layer.
Step 3: Define your zones
This is where creativity starts. Look at your drawing and ask yourself:
"Where is my seating area?" (near house, sunny) "Where are dark corners?" (shade plants) "Where is my patio?" (if not yet fixed) "Where do my pathways go?" (front door to back, between zones) "Where is my vegetable garden?" (full sun, near water)
Sketch these zones lightly in pencil. Label them: "Seating", "Vegetable Zone", "Shade Border", etc.
Step 4: Place your plants in zones
This is where many get stuck. How do I know how many plants fit?
Rule: a mature plant (for example Hosta) has a diameter of 24-48 inches. On paper with 1cm=1m scale, that draws as a circle 2-5cm wide.
So: how many such circles fit in your planting zone? If your zone is 6x10 feet, you fit maybe 3-4 mature plants.
But you do not plant them all at once. You plant smaller specimens (more plants, closer spacing) and they grow together.
Tip: draw plants as circles with labels. This helps visually.
Vista previa gratis
Crea tu propio diseño de jardín
Step 5: Check your pathways
Pathways are the ultimate forgotten element. No logical pathways = your dog tramples grass, your feet make muddy tracks, everything feels chaotic.
Draw pathways on your scale drawing:
- Front door to back
- Front door to seating
- Around all planting zones
Pathways must be minimum 24 inches wide (two people can walk together). On paper with 1cm=1m scale, draw these as lines at least 2-3mm wide.
Decide what kind: gravel, pavers, mulch? Put this in your legend.
Step 6: Check compositions
Now that plants are placed, verify:
Bloom seasons: do you have summer bloomers here and spring bloomers there? Or flowers year-round?
Height variation: are your tall plants (5+ feet) at the back and short (12-24 inches) in front? Or is everything the same height?
Shade: are your shade plants actually in shade (under trees), not full sun?
Drainage: are moisture-lovers in low spots, and dry-lovers in higher spots?
This is tough on paper, but prevents big mistakes.
Step 7: Budget your project
Now you know how many plants you need, estimate costs. Small plants cost 2-5 dollars, larger up to 15 dollars. Paths/mulch/gravel also cost.
This prevents you trying to do "everything at once" and running out of money.
How do you validate your plan?
Print your drawing (or hold it in your hands) and walk your garden. Stand where plants will go. "My seating area here? That feels too small. My vegetable garden here? That is very sunny, no summer shade."
Many insights come this way. Go back to your paper and revise.
Frequently asked questions
How long does this take?
1-2 hours for a small garden. Larger might be 3-4 hours. But this saves weeks of digging later.
Do I need to draw neatly?
No. Rough sketches are fine. It just needs to be clear to you.
Can I use this plan for years?
Yes. Save it. If in two years you want to move something, start with this plan and revise.
How do I draw the mature size of plants?
Look up online or in garden books how large a plant gets. Draw a circle that size. Be realistic: a small nursery specimen grows to a large mature size.
What if my paper plan does not work out?
Start over. This is why you use paper: mistakes are free. Crumple up, new sheet. After three tries it usually clicks.
Step-by-step
Step 1: Measure your garden
Lengths, widths, fixed features (house, trees). Sketch roughly on paper.
Step 2: Choose your scale
1cm=1m works for most gardens. Write this at the top of your page.
Step 3: Draw the base plan
Rectangle of your garden. Add house, trees, property lines.
Step 4: Sketch zones
Seating area, vegetable garden, pathways, planting borders. Label clearly.
Step 5: Place plants
Draw circles for plants, labels beside. Check numbers and distribution.
Step 6: Refine pathways
Ensure pathways are logical, minimum 24 inches wide, well-distributed.
Step 7: Check composition
Flower seasons, height, shade, drainage. Make adjustments.
From paper to digital
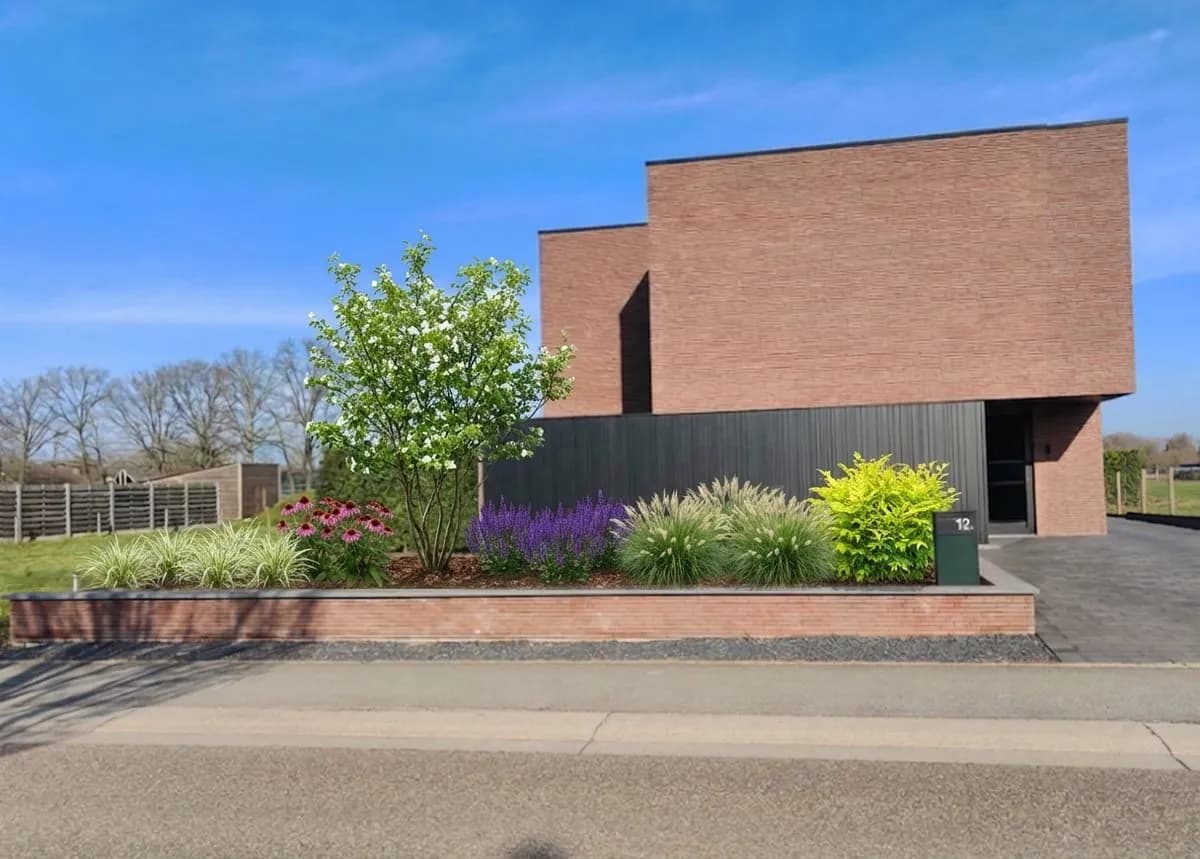
Many stop here. But you can go digital next. On gardenworld.app you upload your photo and sketch your plan: zones, pathways, plants. This helps you visualize how it looks far more than paper. And you immediately see if your scale was right.
Your paper plan is the foundation. Your digital plan (on gardenworld.app) makes it 3D and realistic instead of designing your garden by hand.
Crea tu propio diseño de jardín
Sube una foto, elige un estilo y obtén un diseño fotorrealista con lista de plantas en menos de un minuto.
Diseño completo en HD: 7,99 €
Artículos relacionados
 Diseño del jardín
Garden layout with fireplace: central seating zone
A fireplace or lounge corner makes your garden complete. Discover how to integrate it perfectly and surround it with greenery.
 Diseño del jardín
Shade garden layout: foliage, texture, and depth
Shade feels dark? Not with good structure. Discover how to use foliage, texture, and depth for a lush shade garden.
 Diseño del jardín
Combine vegetable and ornamental garden: potager style
Mix edible and ornamental in potager style. Learn how to integrate vegetables elegantly into your front yard without visual clutter.