

How to set up a composting corner: from garden waste to black gold
Por la redacción de GardenWorld, actualizado el
¿Quieres ver esto en tu jardín?
Diseño completo en HD: 7,99 €
Why a composting corner?
Compost is "black gold" for your garden. Without it your soil grows poorer. And without a composting corner your vegetable scraps go in the bin (wasteful) or you bury them (messy, smelly).
With a composting corner you turn vegetable scraps, tea bags, cardboard, and small garden waste (not branches) into rich soil. This saves money (no buying topsoil), gives better plant growth, and is more eco-friendly than tossing everything.
Plus: no hassle. You chuck it in and nature does the rest.
Where do you place your composting corner?
This is practically important:
Location:
- Somewhere away from the front door (can smell and looks messy)
- Half-shade is ideal (sun speeds composting but too much dries it out)
- Not at the bottom of a slope (waterlogging)
- Not against a neighbour's fence where they would smell it
Size: For most households: 1 to 2 square metres is enough. This accepts roughly 100-150 kg waste yearly (household of 4 with a decent garden).
Have lots of garden waste? Make two bins: one for new waste, one for last season's composting.
Which composting corner: build or buy?
Option 1: Build it (cheap, sturdy)
From pallets or wood:
- Stand 4 pallets upright, bind with hinges or rope
- About 1 x 1 metre, at least 1 metre tall
- Advantage: free or 20-40 euros, sturdy, looks rustic
- Disadvantage: pallets rot in 5-7 years, you rebuild
Option 2: Plastic compost tumbler (compact, modern)
Round or square plastic bin, roughly 400-800 litres:
- Price: 30-100 euros
- Advantage: neat, compact, long-lasting, easy to turn
- Disadvantage: might be small, plastic degrades eventually
Option 3: Metal mesh bin (professional)
Wire mesh box:
- Price: 50-150 euros
- Advantage: compact, durable, feels "proper"
- Disadvantage: more expensive, feels flimsy if not full
Best choice for beginners: pallet-bin or plastic tumbler. Both work well.
What goes in and what doesn't?
Goes in (green material - carbs):
- Vegetable peels (carrot, onion, cucumber)
- Fruit (apple, banana, orange)
- Tea bags and coffee grounds
- Grass clippings (not all at once, layer!)
- Untreated garden waste (small twigs, leaves)
- Unbleached paper (torn up)
Goes in (brown material - carbon, for balance):
- Leaves
- Wood chips
- Straw
- Shredded paper and cardboard
NEVER goes in:
- Meat, fish, bones (smell and pests)
- Dairy (cheese, milk, butter)
- Oily food (chips, oils)
- Diseased plants (spreads disease)
- Thick branches (takes years)
- Grass with seeds (spreads weeds)
- Coloured paper (ink is problematic)
Rule: if it is from an animal, oily, or coloured - keep it out.
How do you fill your composting corner correctly?
This is the key to good compost:
Layering system (the secret):
Layer 1 (bottom, air): thick twigs/wood chips (5 cm) - ensures airflow Layer 2 (brown): leaves/straw (15 cm) Layer 3 (green): vegetable scraps/grass (15 cm) Layer 4 (brown): leaves again (10 cm) Layer 5 (green): scraps again
Repeat. The golden rule: about 3 parts brown (carbon) to 1 part green (nitrogen). Perfect composting.
Water: Your compost should feel like a wrung-out sponge. Too dry? Water it. Too wet? Add brown material (leaves).
Vista previa gratis
Crea tu propio diseño de jardín
Step-by-step
Step 1: Choose location
Pick a spot away from front, half-shade. Check your neighbour cannot smell it. Measure 1-2 square metres.
Step 2: Build or place your bin
Stand up pallets and bind them, or place plastic tumbler. Ensure drainage underneath (not on solid ground).
Step 3: First layer of twigs
Throw handful of thick twigs/wood chips at bottom (ensures air).
Step 4: Alternate layers
Brown (leaves) - green (scraps) - brown (paper/straw). Water lightly after each few layers.
Step 5: Add regularly
Toss scraps as they accumulate. Intersperse with paper/cardboard. After 3-4 months you see dark compost forming at bottom.
Step 6: Turn it (optional but helpful)
Every six months: shovel compost from top to bottom for better mixing. Speeds things up.
Step 7: Harvest
After 6-12 months (depends on temperature, moisture, layering) you can harvest compost from the bottom. It looks dark brown and crumbly.
Frequently asked questions
How long does composting take?
3-4 months: if you turn it regularly. 6-8 months: normal pace. 12 months: if you leave it untouched.
Cold winters slow things. Summers speed them up.
Does my compost corner smell?
If done well: no, smells like forest floor. Stinks: too much green (scraps) not enough brown (leaves). Add paper or leaves. Or too wet - add straw.
Can you compost meat?
Never. Meat attracts rats and maggots and smells horrible. ALWAYS keep meat out.
Where do you get leaves in autumn?
Your own tree (ideal). Ask your neighbour. Some municipalities offer free garden waste in autumn. Shredded newspaper works too.
Can you use compost for potted plants?
Not pure compost - it is too rich. A 50-50 mix of compost and potting soil is better. For garden beds: pure compost is fine.
Which insects and animals get in compost?
- Earthworms (GOOD! They compost)
- Ladybugs (GOOD)
- Mites, insects (GOOD, eat organic matter)
- Flies (BAD if many - add brown)
- Rats (BAD - you added meat)
- Moles (GOOD for aeration)
Rats are the only real problem. Prevent: never meat, keep lid on.
How often must you turn it?
Not required if patient - nature does it. But to speed up: turn every 2 months (shovel top to bottom) dramatically speeds process.
Can you use compost in potted plants?
Yes, good idea. 1 part compost + 2 parts potting soil makes perfect mix for pots.
Discover your garden design
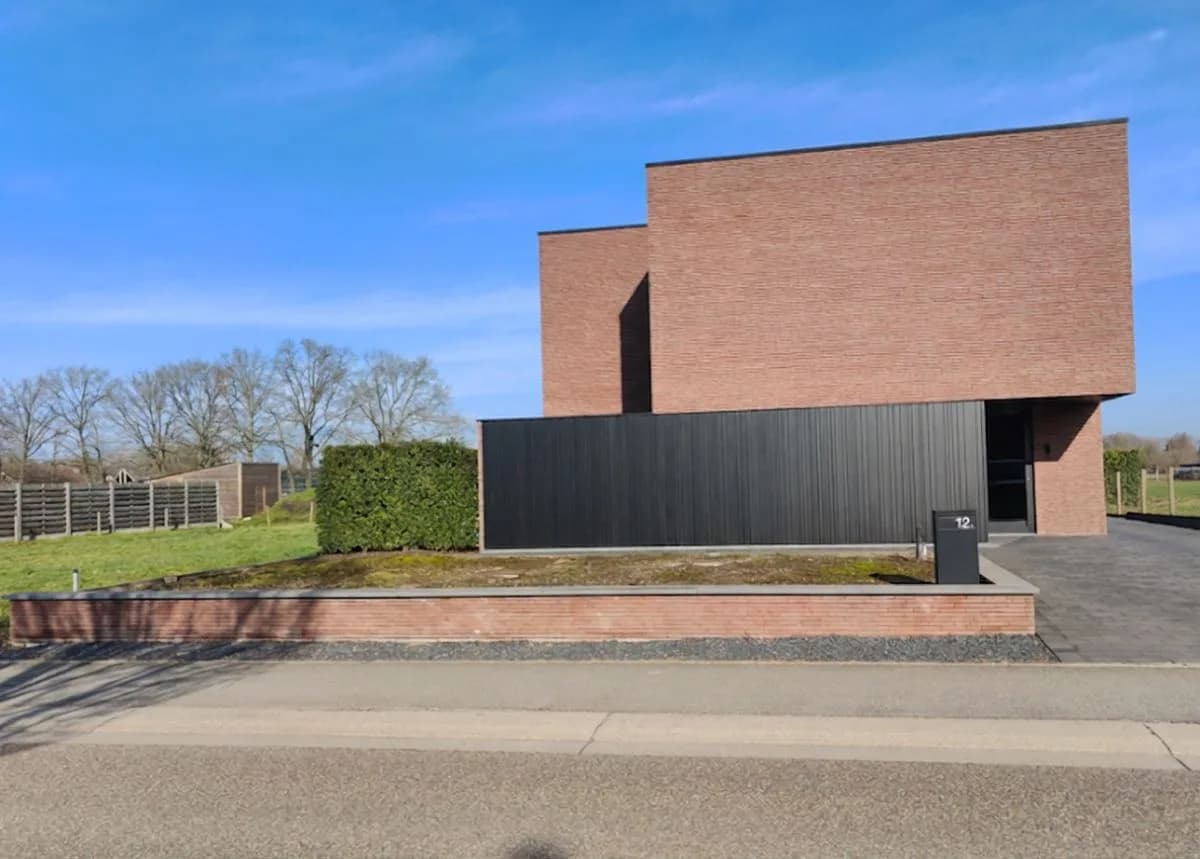
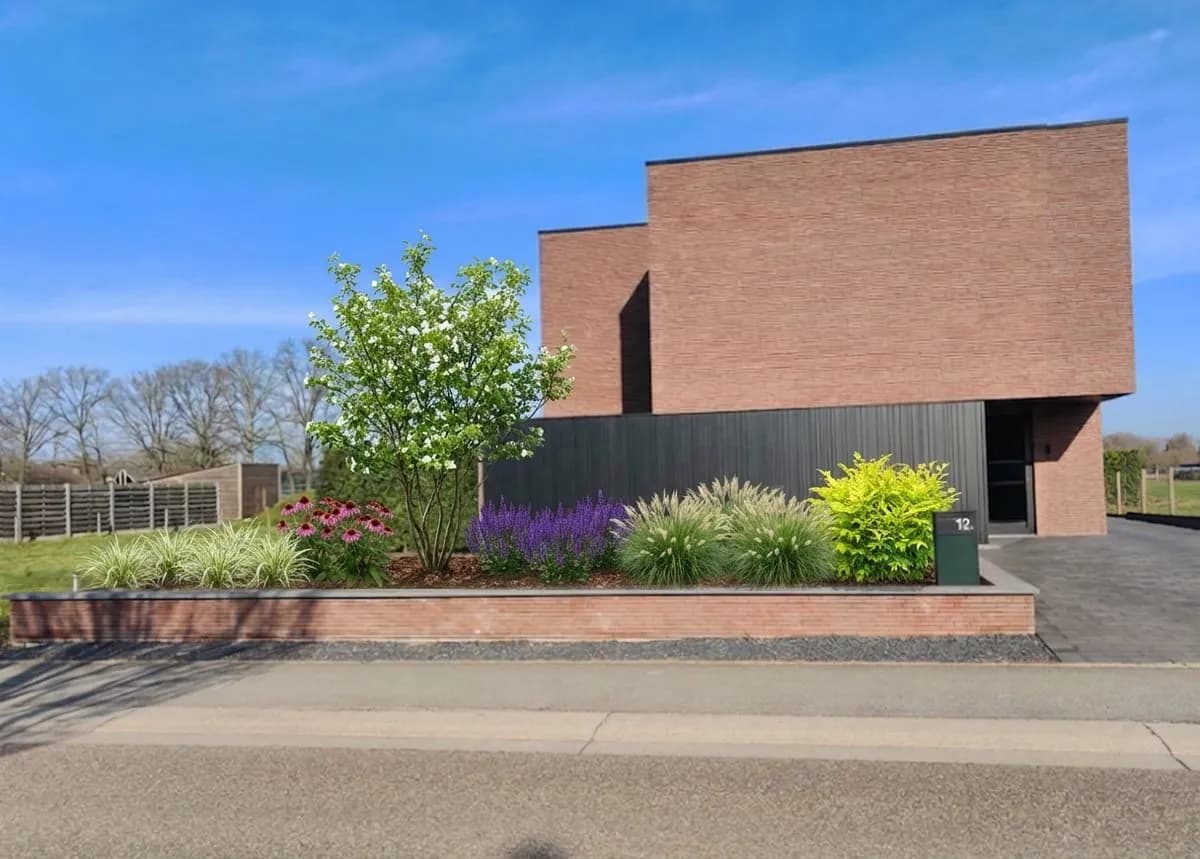
On gardenworld.app you can upload your front garden and see where your compost corner fits best - far enough from door, half-shade, close to borders where you will use the compost. Plan your composting corner in your full garden layout - create a circular garden where waste becomes food. Upload to gardenworld.app today.
Crea tu propio diseño de jardín
Sube una foto, elige un estilo y obtén un diseño fotorrealista con lista de plantas en menos de un minuto.
Diseño completo en HD: 7,99 €
Artículos relacionados
 Construcción de jardines
Replace lawn with borders: more plants, less mowing
Reduce your grass and replace it with colorful borders. Less maintenance, more wildlife food, and a more interesting front garden. How do you plan this?
 Construcción de jardines
Make your garden permeable: remove paving and enable infiltration
Too many tiles cause flooding and poor plant growth. De-pave your front garden and make it water-permeable. Step-by-step guide and materials.
Construcción de jardinesHow to plant a hedge: step-by-step guide
Planting a hedge requires preparation and right timing. Learn the best months, plant spacing, soil prep, and variety selection for a dense hedge.